

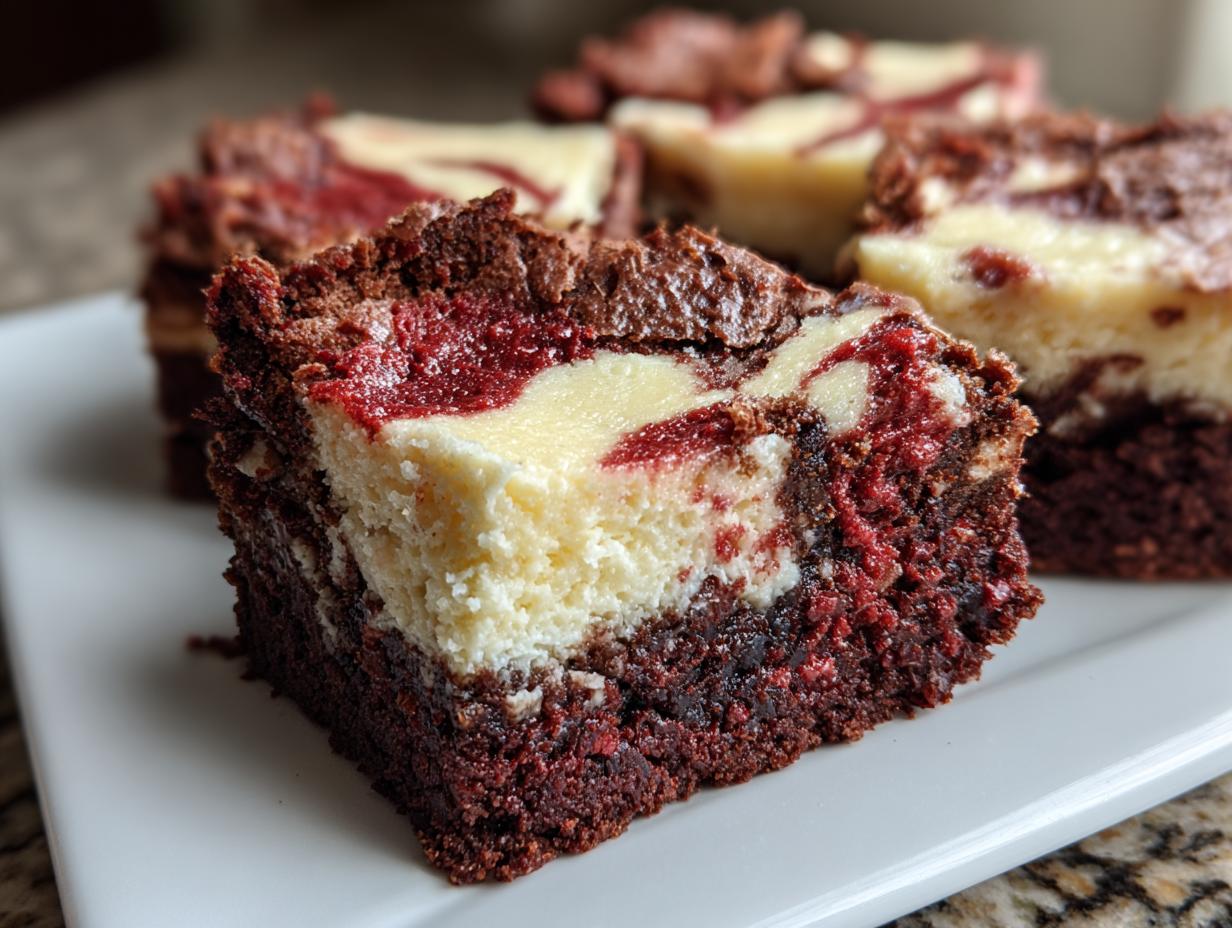
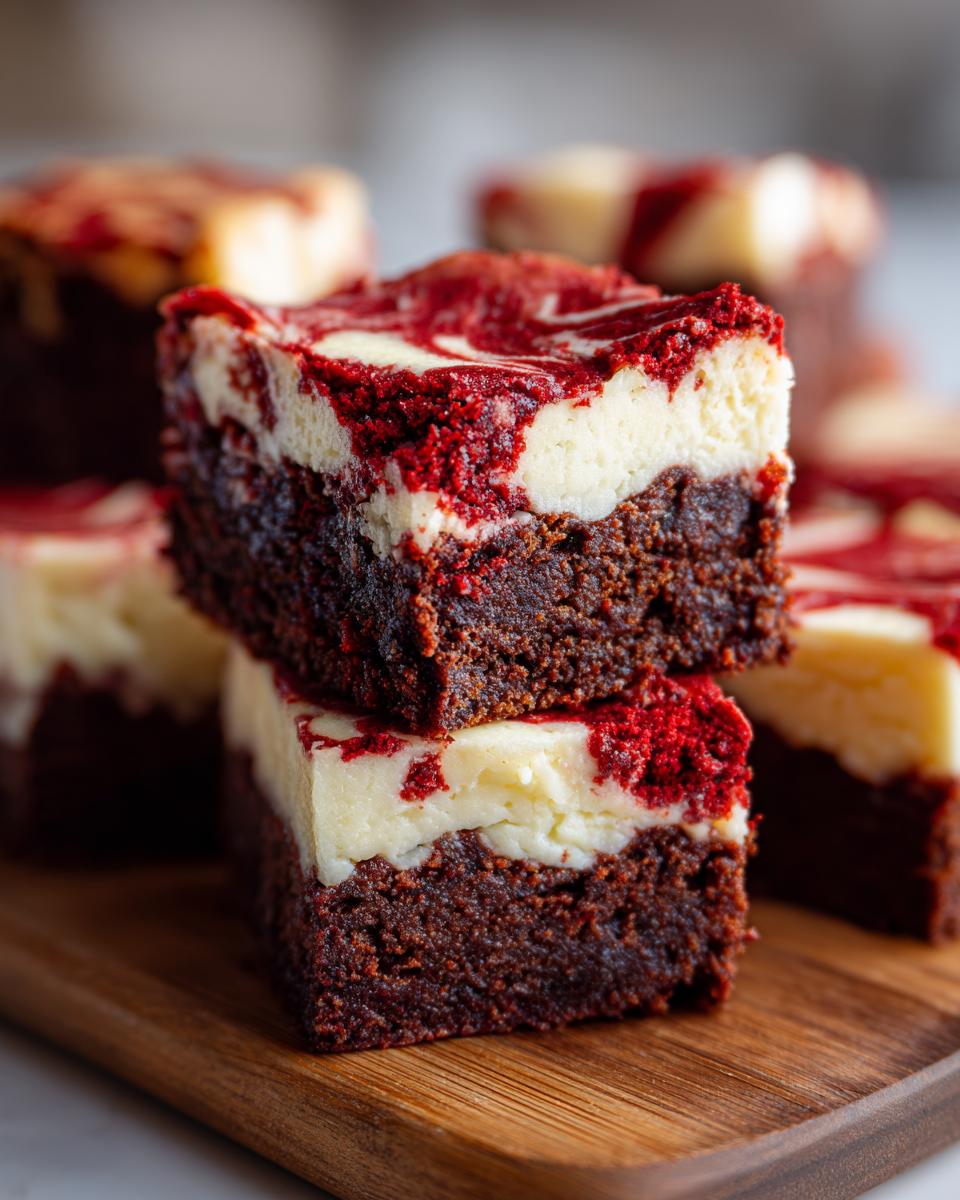
Oh, listen, I need to talk to you about a dessert that stops conversations dead in their tracks. We’re talking about the perfect marriage of rich, fudgy chocolate and smooth, tangy cream cheese, all crowned with that stunning color. I am obsessed with these red velvet cheesecake brownies, and you’re about to be too. When I was first developing these, I wanted something that looked totally gourmet—like you spent all day fussing in the kitchen—but which actually came together quickly, because, well, life is still busy! My goal with Cooking by Felix is always to prove that incredible flavor doesn’t require marathon baking sessions, and these swirl bars are proof positive.
- Why You Need This Ultimate red velvet cheesecake brownies Recipe
- Gathering Ingredients for Your red velvet cheesecake brownies
- Step-by-Step Instructions for Perfect red velvet cheesecake brownies
- Expert Tips for the Best red velvet cheesecake brownies Results
- Storage and Reheating Instructions for Your Swirled Dessert Bars
- Serving Suggestions for Your red velvet cheesecake brownies
- Frequently Asked Questions About red velvet cheesecake brownies
- Nutritional Estimates for Indulgent Sweet Treats
- Share Your Bakes and Find More Easy Dessert Ideas
Why You Need This Ultimate red velvet cheesecake brownies Recipe
Look, sometimes you need a dessert that does double duty. You need something that screams “special occasion” but realistically takes less than an hour of active time. Trust me, these are it!
- They are absolute showstoppers! The marbled cream cheese swirl dessert makes everyone think you worked forever on them.
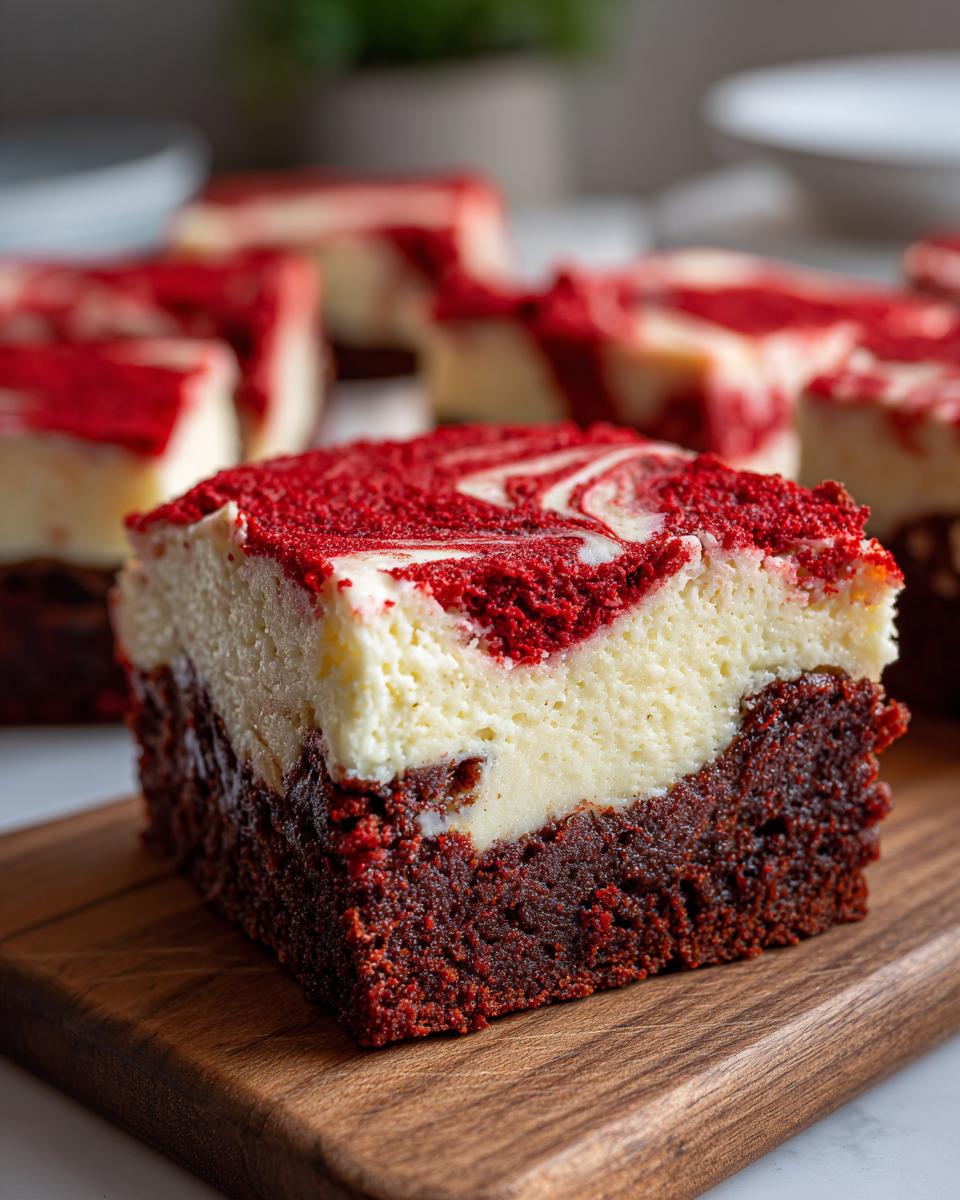
- You get that deep, fudgy brownie texture right alongside the cool, slightly tart cheesecake—what’s not to love about that two-in-one dessert magic?
- They slice beautifully and are perfect for taking to parties or just keeping hidden away for yourself.
Gathering Ingredients for Your red velvet cheesecake brownies
Okay, gathering the supplies for these decadent brownie recipe bars is super straightforward, but we have to talk about temperatures! For the cheesecake part, listen to me: room temperature is non-negotiable. If your cream cheese is straight from the fridge, you’ll end up with lumps, and we want silky smooth swirls, not chunky ones.
For the Fudgy Red Velvet Batter
- 1/2 cup unsalted butter, melted
- 1 cup granulated sugar
- 2 large eggs, room temperature
- 1 1/2 teaspoons red food coloring
- 2 teaspoons vanilla extract
- 1/2 teaspoon salt
- 3/4 cup all-purpose flour
- 3 Tablespoons Dutch process cocoa powder
For the Cream Cheese Swirl
Remember, the warmer these are, the easier they combine into that gorgeous, creamy ribbon!
- 8 ounces cream cheese, room temperature
- 1 large egg, room temperature (for swirl)
- 1/3 cup granulated sugar (for swirl)
Step-by-Step Instructions for Perfect red velvet cheesecake brownies
Okay, let’s move onto the fun part! While these look like they belong on a fancy bakery display, the process actually moves pretty fast. We’re aiming for that gorgeous marbled effect, so patience is key during the swirl stage. Keep your mixing gentle, especially once the flour hits the batter—we want fudgy, not cakey, remember? For the best results on these rich chocolate desserts, follow these steps exactly.
Preparing the Pan and Brownie Base
First things first, get that oven heated up to 350°F (175°C). You need an 9×9 inch pan for this, and line it with parchment paper, making sure you leave an overhang. Seriously, don’t skip the overhang; it’s how we lift these out later in one piece! Now, for the actual brownie batter, start by whisking that melted butter and 1 cup of sugar together. Add your two room-temperature eggs one by one, just until they blend in. Then stir in the red coloring, vanilla, and salt. Finally, gently fold in the flour and cocoa powder. Stop mixing the second you don’t see any white streaks remaining. Spread this lush batter evenly into your prepared pan.
Creating and Swirling the Cheesecake Layer
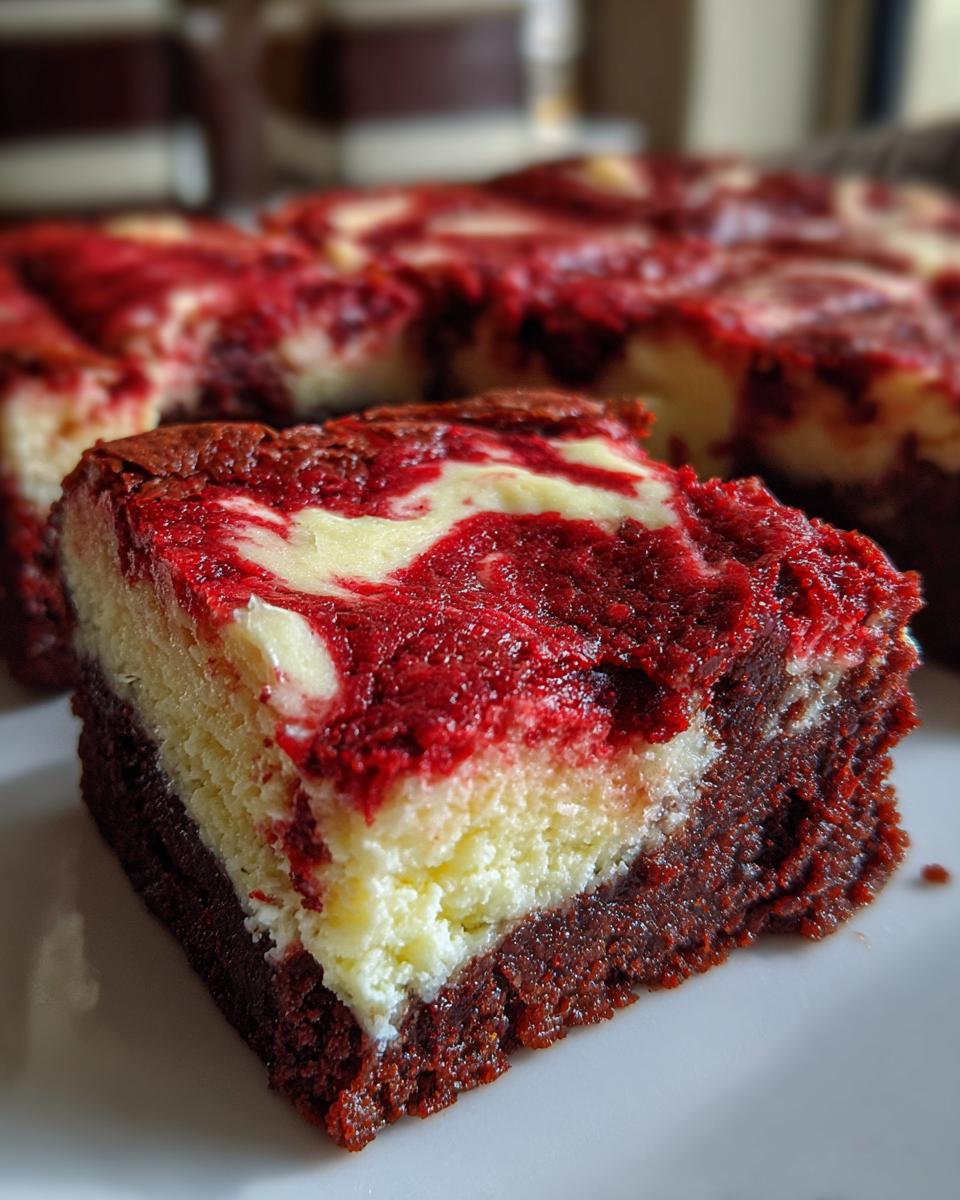
Time for the creamy goodness! Grab a separate bowl and beat your room-temperature cream cheese until it’s really smooth—no grittiness allowed. Mix in the remaining 1/3 cup of sugar and that last egg until everything is perfectly creamy and lump-free. Now, take small spoonfuls of this cream cheese mix and drop them randomly all over the red velvet batter in the pan. Grab a knife—I usually use a butter knife or a skewer—and gently drag it through the brown batter and the white mixture a couple of times to create those beautiful, marbled ribbons. I cannot stress this enough: Do not over-swirl! You want distinct pockets of cream cheese, not just pink batter.
Baking and Cooling Your red velvet cheesecake brownies
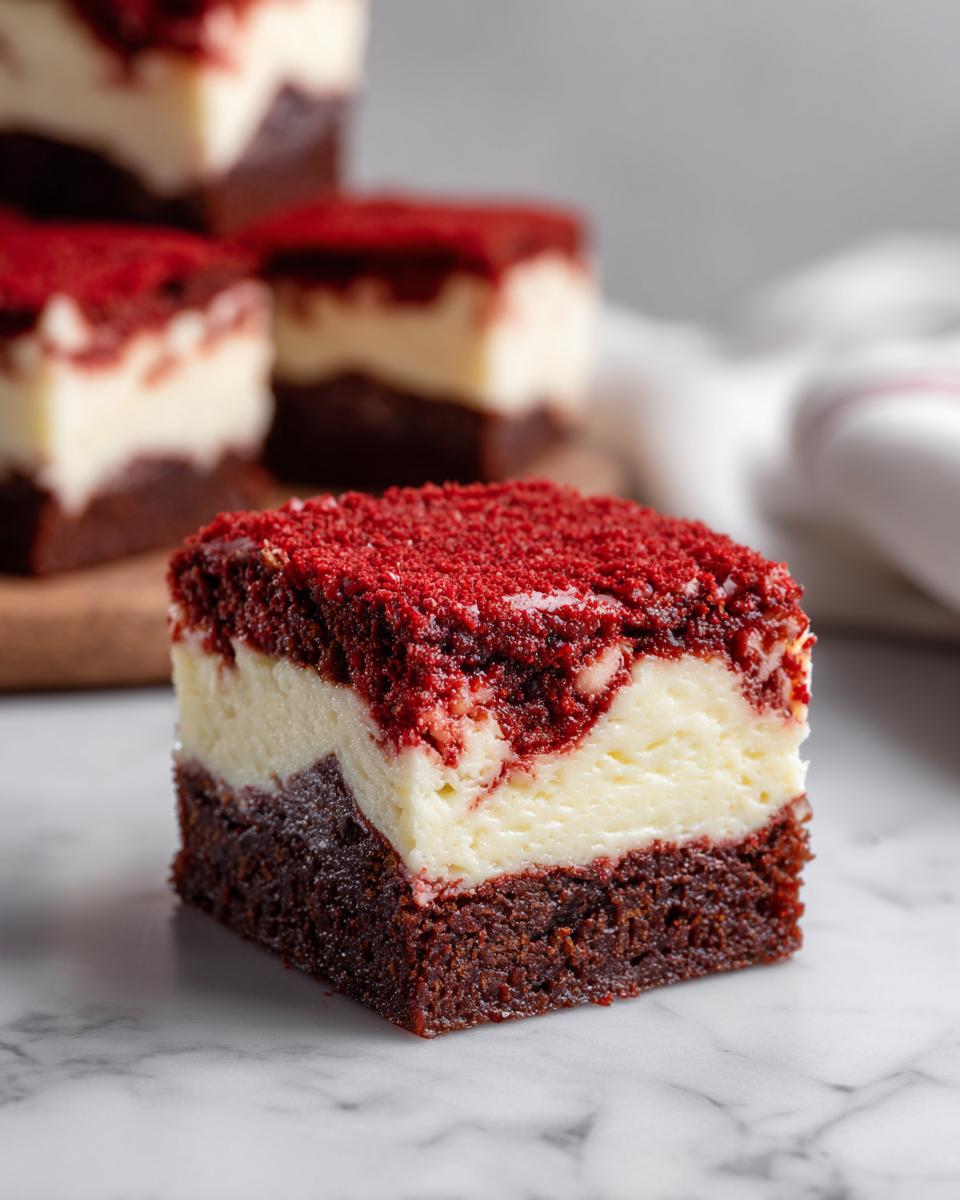
Slide that pan into the oven and let it bake for 30 to 35 minutes. This is where you check for doneness: Insert a toothpick near the center. If it comes out with moist crumbs attached, you’re golden. If it comes out coated in wet goo, give it three more minutes and check again. Once they’re ready, pull them out and let them cool completely on a wire rack. If you try to rush this part and cut them warm, they will fall apart! Seriously, chill them for at least an hour before you even think about lifting them out using that parchment overhang and slicing them into 16 perfect squares.
Expert Tips for the Best red velvet cheesecake brownies Results
You know me, I always want you to have spectacular results, especially with a showstopper like these red velvet cheesecake brownies. My personal notes from recipe testing show a few non-negotiables. First, make sure your cream cheese and egg for the swirl are truly at room temperature. That’s where you get that beautifully dreamy texture without any lumps. It took me three tries before I figured out that just letting them sit on the counter for an hour actually worked better than trying to microwave them!
Also, about that cocoa powder—I insist on Dutch process for this recipe. It gives the brownie base a deeper, richer chocolate flavor that really stands up against the tang of the cheesecake layer. It’s part of making sure these fudgy red velvet bars taste as rich as they look. And finally, that chilling step? It sounds boring, but it’s life-changing for cutting clean squares. You have to let them chill for at least an hour after cooling completely; trust me on that one.
Storage and Reheating Instructions for Your Swirled Dessert Bars
Now that you’ve made these stunning swirled dessert bars, keeping them looking and tasting perfect is easy. Since we have that delicious cream cheese component, refrigeration is your best friend. Store the cooled, cut squares in an airtight container. They stay wonderfully moist and fresh in the fridge for up to five days. That’s perfect for having a quick, indulgent sweet treat ready when I need one!
Should you want to reheat them? Honestly, I don’t usually bother heating these up because I love the slight firmness the cheesecake gets when chilled. But if you must, just let a square sit on the counter for about 20 minutes to take the chill off before diving in. Never microwave these!
Serving Suggestions for Your red velvet cheesecake brownies
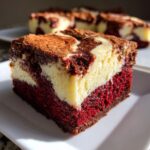
These red velvet cheesecake brownies are already incredibly rich, which means we don’t need to overcomplicate the serving situation. If you’re presenting these to guests, the visual wow-factor is already built in with that perfect red and white marbling, but a little accompaniment goes a long way.
My go-to pairing is always a simple scoop of high-quality vanilla bean ice cream—the cold creaminess is heaven next to the slightly room-temperature brownie. If you’re serving them plain, just dust the tops lightly with powdered sugar right before presentation for an elegant finish. Honestly, a strong cup of black coffee or a shot of espresso cuts through the richness perfectly, making these the ultimate afternoon indulgence!
Frequently Asked Questions About red velvet cheesecake brownies
I know when you’re baking something this decadent, you might have a few tweaks or worries. That’s totally normal! Baking is science, but it’s also intuition, and I’m here to calm all your nerves about these gorgeous rich chocolate desserts.
Can I make these red velvet cheesecake brownies without food coloring?
That bright, brilliant red is the whole deal with true red velvet flavor, isn’t it? If you skip the food coloring, you’ll technically end up with a chocolate cheesecake brownie, because the cocoa powder we use darkens the batter significantly. If you’re trying to keep it natural, you can try using beet powder or juice, but honestly? It never achieves that vibrant, iconic red hue we’re going for in this specific recipe. I really recommend using the recommended amount of coloring for the true experience.
How do I prevent my cheesecake swirl from sinking into the brownie batter?
This is a classic frustration with any cream cheese swirl dessert! The trick here is twofold. First, make sure your brownie batter is spread relatively evenly and isn’t too runny—we’re going for fudgy, not pancake batter! Second, make sure your cream cheese mixture isn’t warmer than your brownie batter. If the brownie layer is warm and the cream cheese is cool, the cream cheese tends to hover nicely on top before you swirl. If both are room temperature, they integrate better without sinking straight to the bottom.
What is the best way to get clean slices for these fudgy red velvet bars?
Oh, this is the million-dollar question for any bar dessert! You absolutely *must* chill these completely. After they are fully cooled on the counter, pop the whole pan into the fridge for at least an hour, maybe two. That chilling firms up both the brownie and the cheesecake layer so they don’t smear when you cut them. When you’re ready to slice those fudgy red velvet bars, take a long, sharp knife and dip it into a glass of hot water between every single slice. Wipe it dry, dip it, and then cut. That hot knife glides right through the layers and leaves you with those gorgeous, sharp edges!
Nutritional Estimates for Indulgent Sweet Treats
I promised you we’d be open about everything here at Cooking by Felix, and that includes the numbers after you’ve devoured these magnificent indulgent sweet treats. Now, listen closely: these figures are totally estimates. What I use in my kitchen might be slightly different than what you grab at the store, so think of this as a guideline, not a promise etched in stone!
When you’re dealing with this much rich chocolate, butter, and cream cheese, we know these aren’t diet food, but knowing what’s in your square helps you manage things, right? It’s just good cooking practice to keep track.
Here’s what the recipe averages out to per one luscious square:
- Serving Size: 1 square
- Calories: 280
- Sugar: 25g
- Sodium: 150mg
- Fat: 16g
- Saturated Fat: 9g
- Unsaturated Fat: 7g
- Trans Fat: 0.5g
- Carbohydrates: 30g
- Fiber: 1g
- Protein: 4g
- Cholesterol: 55mg
Bottom line? These homemade dessert squares are a beautiful indulgence! Enjoy them for what they are—a special creation made with love. Don’t stress the details; just make sure you savor every single bite when you treat yourself.
Share Your Bakes and Find More Easy Dessert Ideas
Now that you’ve finished your batch of red velvet cheesecake brownies, I absolutely want to hear about it! Truly, there is nothing better than seeing you all take one of my achievable recipes and turn it into something spectacular in your own kitchens. Did your swirl set up perfectly? Did the fudgy bottom hold up to that tangy topping? Let me know in the comments below!
If these rich, swirled bars were your jam, then you need to check out some of the other ways we can elevate the everyday dessert. If you loved the indulgence factor of these brownies, maybe you should explore my posts on simple delicious desserts? I have some fantastic options that hit that same sweet spot: comforting, impressive, but still surprisingly quick.
And hey, if you want to see how other people tackled these, you can always pop over and check out some other takes on this favorite, like the amazing red velvet cheesecake brownies recipe on other sites. Happy baking, friends, and I can’t wait to hear about your gorgeous squares!
PrintUltimate Red Velvet Cheesecake Brownies
Make these rich, fudgy red velvet cheesecake brownies featuring a creamy, tangy cream cheese swirl. This easy recipe delivers a visually stunning, decadent dessert perfect for sharing.
- Prep Time: 15 min
- Cook Time: 35 min
- Total Time: 50 min
- Yield: 16 servings 1x
- Category: Dessert
- Method: Baking
- Cuisine: American
- Diet: Vegetarian
Ingredients
- 1/2 cup unsalted butter, melted
- 1 cup granulated sugar
- 2 large eggs, room temperature
- 1 1/2 teaspoons red food coloring
- 2 teaspoons vanilla extract
- 1/2 teaspoon salt
- 3/4 cup all-purpose flour
- 3 Tablespoons Dutch process cocoa powder
- 8 ounces cream cheese, room temperature
- 1 large egg, room temperature (for swirl)
- 1/3 cup granulated sugar (for swirl)
Instructions
- Preheat your oven to 350°F (175°C). Line a 9×9 inch baking pan with parchment paper, leaving an overhang for easy removal.
- Prepare the brownie batter: In a medium bowl, mix the melted butter and 1 cup of sugar. Whisk in the 2 eggs one at a time until just combined.
- Stir in the red food coloring, vanilla extract, and salt.
- Gently mix in the flour and cocoa powder until just incorporated. Do not overmix. Spread the batter evenly into the prepared pan.
- Prepare the cream cheese swirl: In a separate bowl, beat the cream cheese until smooth. Add the remaining 1/3 cup sugar and the remaining egg. Beat until the mixture is creamy and lump-free.
- Drop spoonfuls of the cream cheese mixture over the red velvet batter.
- Use a knife or skewer to gently swirl the cream cheese mixture into the brownie batter to create a marbled effect. Do not over-swirl.
- Bake for 30 to 35 minutes, or until a toothpick inserted near the center comes out with moist crumbs attached, not wet batter.
- Let the brownies cool completely in the pan on a wire rack before lifting them out using the parchment overhang.
- Cut into 16 squares.
Notes
- For the best swirl, ensure your cream cheese and egg are at room temperature before mixing.
- Use Dutch process cocoa powder for a deeper chocolate flavor that complements the red velvet.
- Chill the brownies for at least one hour before slicing for clean, bakery-style cuts.
Nutrition
- Serving Size: 1 square
- Calories: 280
- Sugar: 25g
- Sodium: 150mg
- Fat: 16g
- Saturated Fat: 9g
- Unsaturated Fat: 7g
- Trans Fat: 0.5g
- Carbohydrates: 30g
- Fiber: 1g
- Protein: 4g
- Cholesterol: 55mg