

Oh, the holidays! Everyone loves that festive magic, but sometimes the sheer volume of complicated baking promises gives me a headache before I even turn on the oven. If you’re anything like me, you need something breathtakingly beautiful that takes zero stress and promises massive payoff. Well, you’ve found it! If you need a fail-proof peppermint bark recipe that skips the oven entirely, this is your winner.
I truly developed this as part of my mission to simplify life for busy cooks like my former marketing self. Think gorgeous, layered chocolate crunch ready in minutes (plus chill time, of course!). This is the ultimate no-bake holiday candy that looks like you spent all day on it. Trust me on this one; it’s holiday perfection without the drama.
- Why This Peppermint Bark Recipe is Your New Holiday Favorite
- Gather Your Ingredients for This Peppermint Bark Recipe
- Ingredient Notes and Simple Substitutions for Your Peppermint Bark Recipe
- Step-by-Step Instructions: How to Make Peppermint Bark Recipe
- Tips for Success with Your Easy Peppermint Bark Recipe
- Storage and Gifting Your Christmas Chocolate Bark Recipe
- Frequently Asked Questions About This Peppermint Bark Recipe
- Estimated Nutritional Data for Your Peppermint Bark Recipe
- Share Your Festive No Bake Desserts
Why This Peppermint Bark Recipe is Your New Holiday Favorite
I know you’ve seen those fancy candy displays, and maybe you thought making layered chocolate bark looked impossible. Not here! This recipe is designed specifically for real life—meaning it’s fast, it’s stunning, and honestly, you barely need to lift a finger after you melt the chocolate.
It sets expectations right here so you know exactly what you’re getting:
The Ultimate Quick Festive Dessert
We are talking 15 minutes of actual active time. That’s incredible for something this festive! Because this is a no-bake beauty, we skip all the oven monitoring headaches. You truly just need to melt, pour, sprinkle, and chill. It’s the definition of a Quick Festive Dessert.

Perfect for Chocolate Bark for Gifting
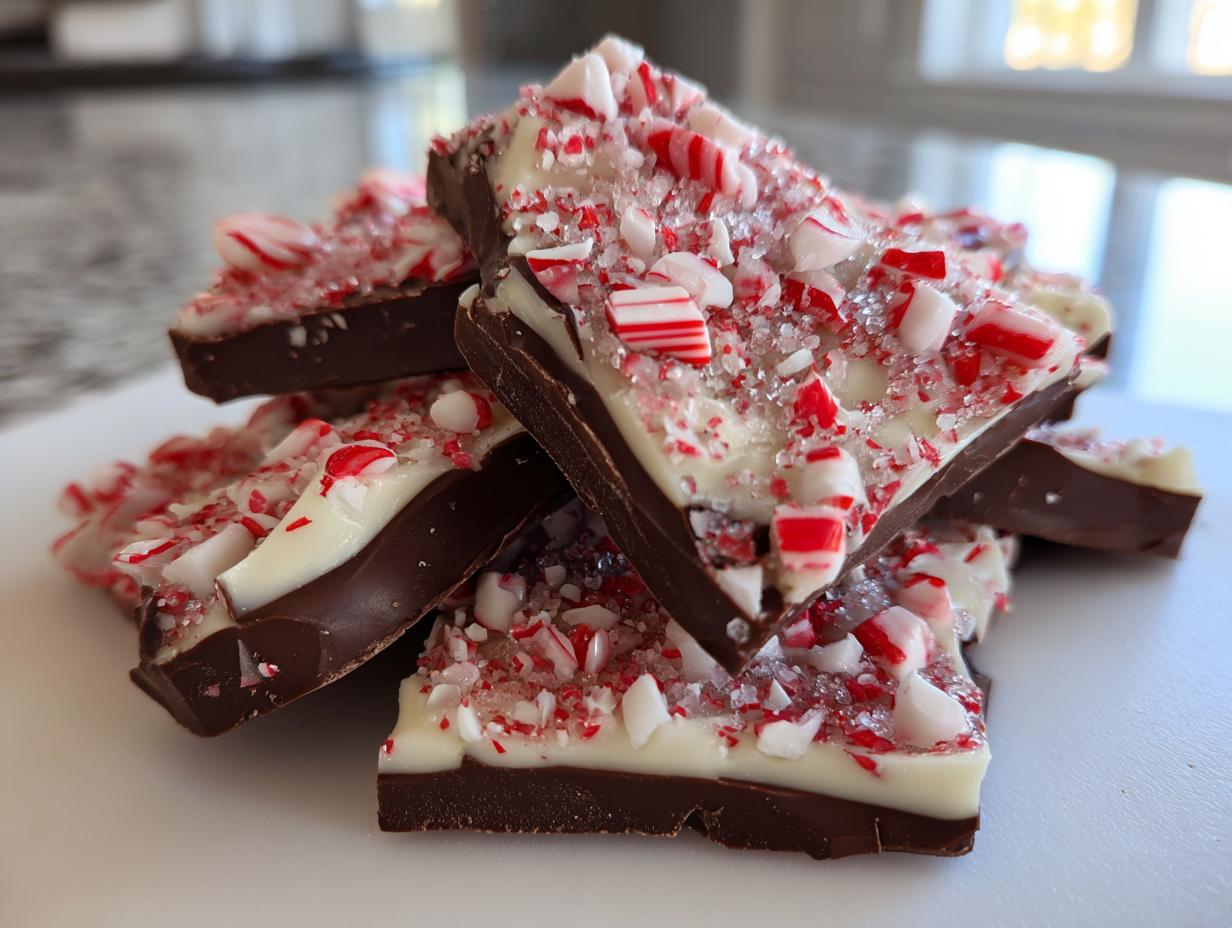
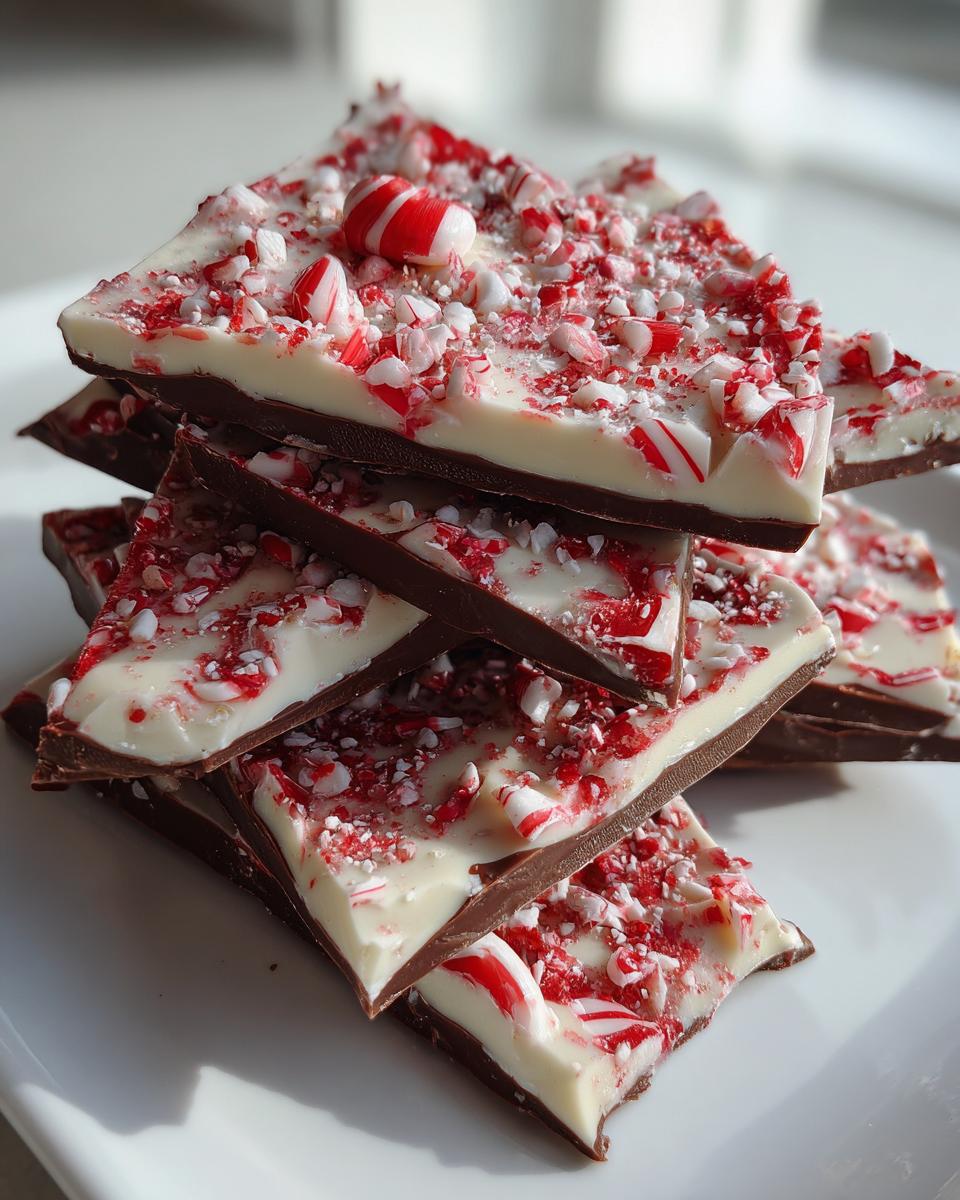
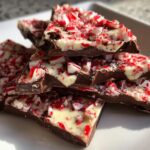
When you break this apart, the sharp contrast between the dark and white chocolate, speckled with bright red and white candy cane pieces? It screams holiday effort. But since it’s so easy, you can make huge batches fast. It’s the perfect, impressive Chocolate Bark for Gifting without needing hours in the candy kitchen.
Gather Your Ingredients for This Peppermint Bark Recipe
You know I love cutting straight to what matters, and with this peppermint bark recipe, that means focusing only on the essentials. We aren’t messing around with complicated extracts or obscure stabilizers here. This is pure, simple, holiday candy magic, which is why it’s so perfect for beginners!
Essential Components for Layered Chocolate Bark
Grab these four simple things. That’s it! This lineup creates that amazing chocolate contrast that screams classic Christmas candy. Keep your ingredients handy, because moving quickly is part of the secret.
- 8 ounces semisweet chocolate, chopped
- 8 ounces white chocolate, chopped
- 1 teaspoon peppermint extract
- 1 cup crushed candy canes (about 10-12 large canes)
Ingredient Notes and Simple Substitutions for Your Peppermint Bark Recipe
Even though this is a super simple peppermint bark recipe, the quality of your chocolate makes all the difference. Since we aren’t baking, the chocolate *is* the star! I’ve learned that using slightly better quality chips or chopping good baking bars makes the final texture so much silkier. Don’t skimp too much here if you can help it!
Choosing the Right Chocolate for Your Peppermint Bark Recipe
When it comes to the white chocolate, please try to avoid the waxy, shelf-stable ‘almond bark’ style coating if your goal is creamy texture. Real white chocolate carries cocoa butter, which melts beautifully and blends much better with the peppermint extract. For the dark layer, semisweet chips work great because they have enough sugar to balance the bitterness, but if you prefer dark, good quality chopped dark chocolate is a dream beneath those minty pieces.
Candy Cane Crunch and Flavor Variations
Crushing the candy canes is the best workout you’ll get all day, seriously! Just put them in a sturdy zip-top bag, wrap it in a kitchen towel for safety, and bash away with a wooden spoon or rolling pin. You want a mix of fine dust and honest chunks for that perfect Chocolate Peppermint Crunch. Oh, and here’s one of my favorite tricks for a grown-up twist: sprinkle just a tiny bit of flaky sea salt over that white chocolate layer before it sets. It makes the whole thing feel instantly elevated and fancy!
Step-by-Step Instructions: How to Make Peppermint Bark Recipe
Okay, here is where the magic happens! Seriously, this whole process clocks in at about 15 minutes of active work time, and then we let the fridge do the heavy lifting. It’s a dream come true when you’re busy rushing around during the holidays. We’re going to focus on melted chocolate care, because that’s the only part where things can go sideways.
Preparing the Pan and Melting the Dark Chocolate Layer
First things first, grab that 8×8 pan. Line it with parchment paper and make sure you leave an overhang on the sides—this is your handle later! For the dark chocolate (Step 2), microwave it in short bursts, like 30 seconds at a time. And I mean it: stir it well between *every* single one of those bursts. Chocolate scorches so fast, and no one wants burnt candy flavor. Once it’s totally smooth, pour it right into your prepared pan. Use a spatula to spread it into an even blanket, and go ahead and sprinkle half of your crushed candy canes over that warm layer right away.
Creating the White Chocolate Peppermint Layers
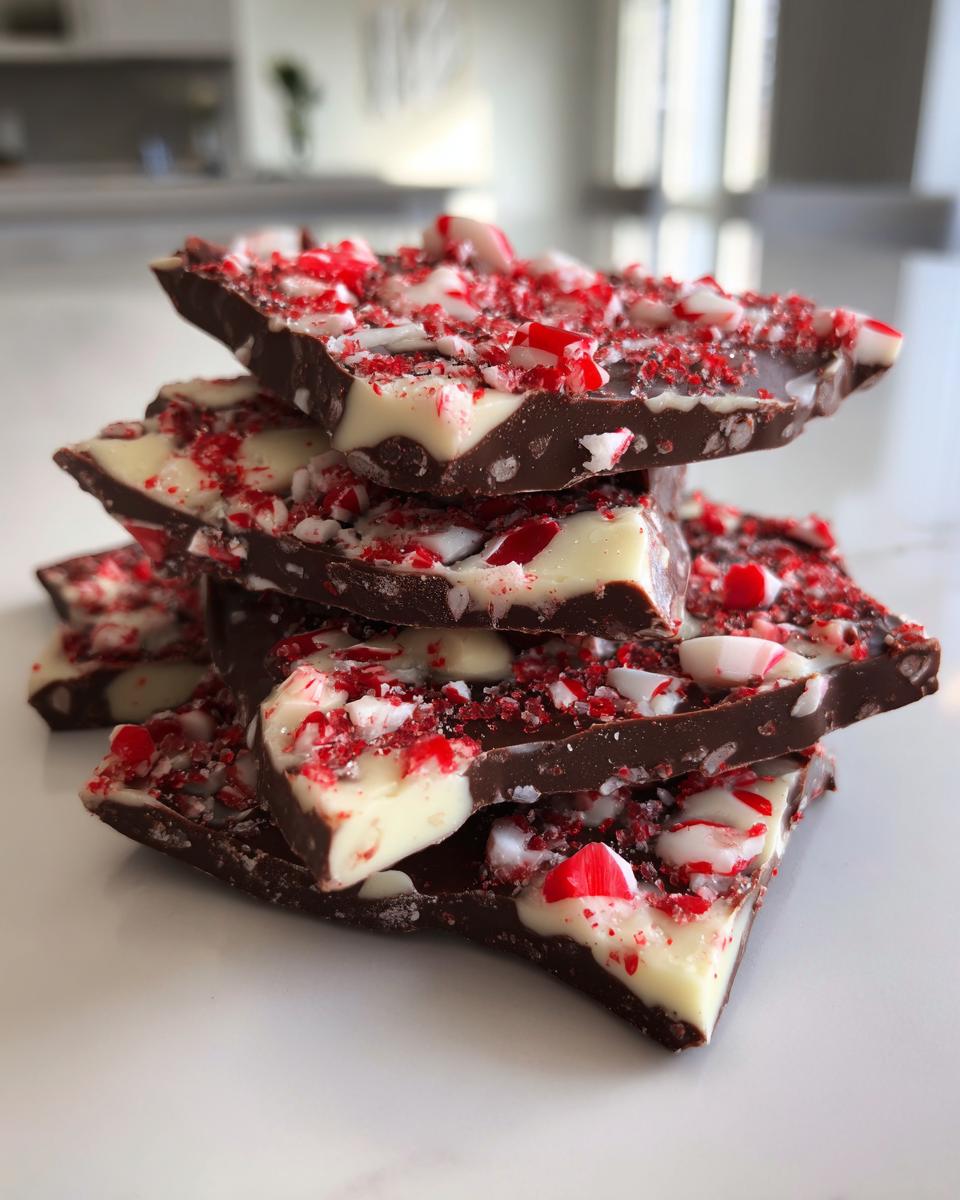
While that first layer chills for just five minutes—enough to firm up slightly—melt your white chocolate in a separate bowl, using the same slow-and-steady microwave technique. Once it’s liquid gold, pull it off the heat and stir in that peppermint extract. This is so important! If you add the extract while it’s too hot, the flavor can get dull. Gently pour this minty white chocolate right over the dark layer. Take your time spreading it out evenly so you get that beautiful, clean Layered Chocolate Bark look. Immediately dust the remaining candy canes on top before it starts setting!
Chilling and Breaking Your Homemade Peppermint Bark
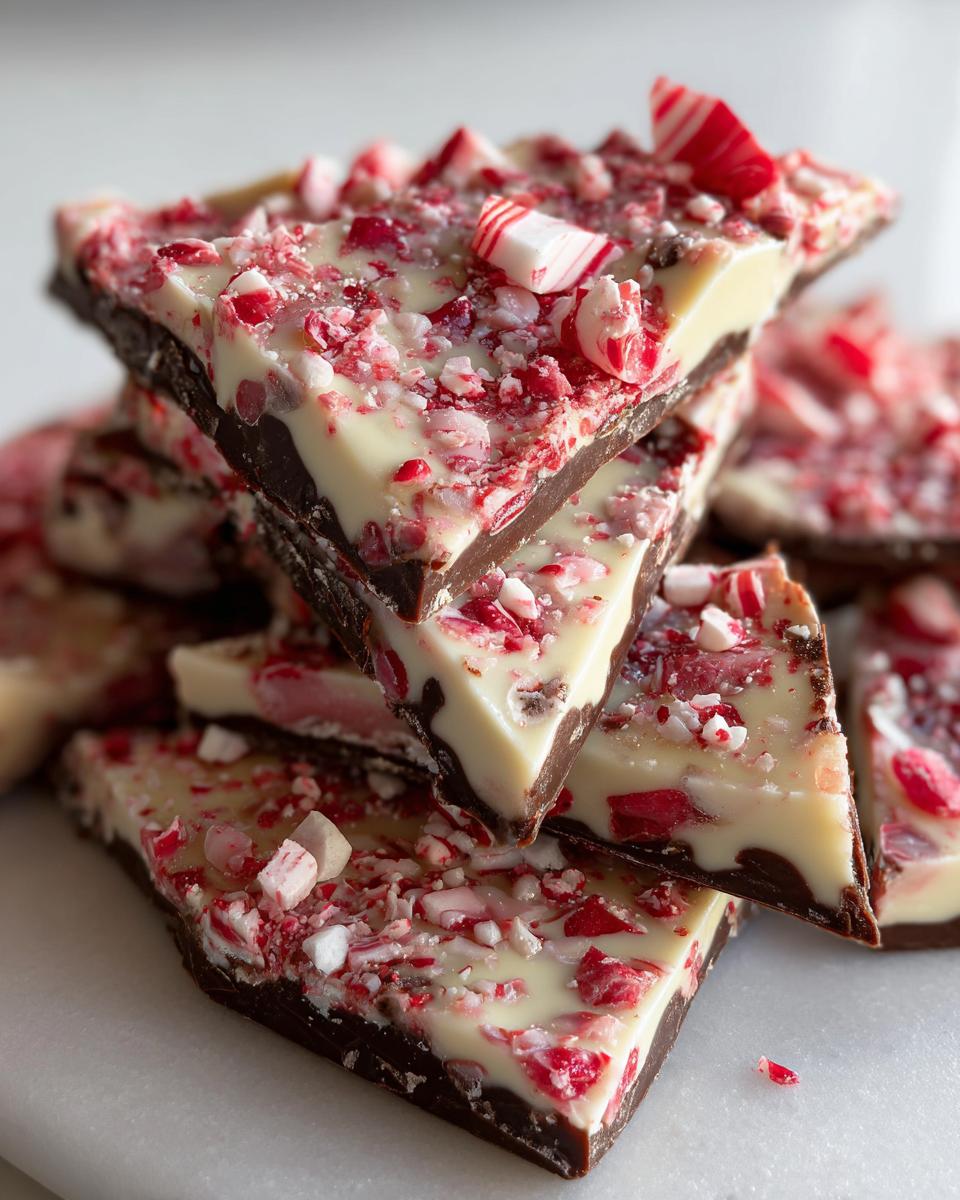
Now, it’s patience time. Pop the whole thing in the fridge for at least an hour until it is rock solid. Once it’s fully firm, use those parchment paper handles to lift the whole slab right out onto a cutting board. For the best look—those sharp, jagged, impressive “snaps”—you want to break it, not cut it perfectly. Just give it a few solid taps with the heel of your hand or a heavy knife. You’ll get these gorgeous, irregular pieces perfect for serving or tossing into gift bags!
Tips for Success with Your Easy Peppermint Bark Recipe
Even though this Easy Peppermint Bark recipe is so simple, I want to save you from the absolute nightmare that is seized chocolate! Chocolate is temperamental, bless its heart. It hates water, it hates extreme heat, and it just gets grumpy if you rush it. A little forethought here means you’ll have that perfect, smooth texture instead of a grainy mess.
Avoiding Seized Chocolate in Your Peppermint Bark Recipe
The biggest thing I stress is making sure every single piece of equipment—your bowls, your spatula, even the spoon you use—is perfectly dry. Seriously, even one drop of steam or residual water will make your chocolate instantly turn into thick, unusable paste. If you are worried about your chocolate acting up, the secret weapon I mentioned in the notes is a tiny bit of coconut oil or vegetable shortening. Just mix a teaspoon into your melted chocolate batch. It keeps things fluid, glossy, and happy right until you pour it!
Achieving Crisp Peppermint Chocolate Layers
We need those layers to stay put, right? We don’t want the white chocolate mixing right into the dark chocolate, which ruins that beautiful look! The trick isn’t about the *amount* of chill time, but the *quality* of the chill time. Once you pour that dark layer, you must let it sit in the fridge until it’s totally solid—not just cool, but firm enough that you can gently tap it without leaving a dent. That hard base prevents your second layer from immediately merging with the first. Patient chilling leads to that fantastic, clear separation and that satisfying Chocolate Peppermint Crunch when you break it!
Storage and Gifting Your Christmas Chocolate Bark Recipe
Here’s my golden rule for keeping this homemade candy tasting perfect: store it cool! Because this Christmas Chocolate Bark Recipe is made purely of chocolate and peppermint, it holds up beautifully, but you don’t want it sweating on your counter in a warm house.
Keep broken pieces in a truly airtight container. At cool room temperature, this bark is great for about a week. If your kitchen runs warm, or if you’re making it way ahead of time for gifts, tuck it into the fridge. When you store it cold, you just need to remember to pull it out about 15 minutes before serving so the chocolate softens just a tiny bit—that’s when you get the best texture!
Frequently Asked Questions About This Peppermint Bark Recipe
I always get a few questions when people see how easy this is because they assume high-impact desserts must be high-effort. Nope! Not here. This section is all about making sure your first batch of this Easy Peppermint Bark turns out absolutely perfect for your holiday table.
Can I use milk chocolate instead of semisweet in this peppermint bark recipe?
You totally can, but you have to know what you’re asking for! If you swap the semisweet for milk chocolate, your bark will be significantly sweeter. The semisweet layer is designed to give that deep, rich chocolate flavor to balance out the sugar rush from the white chocolate and the mint. Milk chocolate will make this more intensely sweet, and because it has a lower cocoa solid content, it can be a bit softer when chilled. It’s still delicious, but it won’t be exactly what most people consider the Best Peppermint Bark Recipe contrast!
How long does this Easy Peppermint Bark last?
Because this is strictly a No Bake Holiday Candy made only of chocolate and hardened candy, the shelf life is surprisingly good! If you keep it stored in a cool, dark, airtight container at cool room temperature, it’s fantastic for about a week. If your house is warm or you want it to last right through the New Year, pop it in the fridge. Cold storage can keep it tasting fresh and crisp for up to three weeks!
Is this truly a Beginner Candy Recipe?
Yes, yes, yes! This is practically the first thing I recommend to anyone who has never made candy before. We aren’t tempering anything, there’s no syrup thermometer involved, and we aren’t using boiling sugar. You are literally just melting chocolate and spreading things! If you can use a microwave and a spatula, you can nail this recipe. It’s the best entryway into making impressive homemade holiday treats without the fear factor!
Estimated Nutritional Data for Your Peppermint Bark Recipe
I always feel a little funny putting numbers to treats like this, because who is really counting calories when peppermint and chocolate collide? But for those of you who need the details, here’s what the recipe generally breaks down to per serving. Remember, this is our classic Christmas Chocolate Bark Recipe, so measurements are based on breaking the bark into irregular pieces.
- Serving Size: 1 piece
- Calories: 180
- Sugar: 18g
- Fat: 12g
Keep in mind these are just estimates, depending on the percentage of chocolate you use! But honestly, the best number here is the one that says ‘Make More Next Time’ because it vanishes so fast.
Share Your Festive No Bake Desserts
And there you have it! The easiest, prettiest, most delicious holiday candy you will make all season. This peppermint bark recipe has truly saved me when I needed a last-minute gift or a quick addition to a cookie plate, and now it’s yours!
I sincerely hope you try this recipe and bring a little bit of this no-fuss holiday cheer into your own kitchen. Remember what I always say—cooking is about connection. Even a simple no-bake treat shared with family or friends brings that joy.
When you make your layers, snap them into pieces, and share them around, don’t be shy! Please come back and leave me a star rating right here on the recipe post. I absolutely love seeing how your barks turned out, so snap a picture and tag us! Knowing that these simple recipes are empowering busy people to enjoy homemade food is what Cooking by Felix is all about. Happy holidays, everyone!
PrintEasy Peppermint Bark Recipe: Quick No-Bake Holiday Candy
Make this classic Christmas candy with just a few simple ingredients. This no-bake peppermint bark recipe layers dark and white chocolate for a festive treat perfect for holiday gifting or serving.
- Prep Time: 15 min
- Cook Time: 5 min
- Total Time: 80 min
- Yield: About 16 servings 1x
- Category: Dessert
- Method: No-Bake
- Cuisine: American
- Diet: Vegetarian
Ingredients
- 8 ounces semisweet chocolate, chopped
- 8 ounces white chocolate, chopped
- 1 teaspoon peppermint extract
- 1 cup crushed candy canes (about 10–12 large canes)
Instructions
- Line an 8×8 inch baking pan with parchment paper, letting the paper hang over the sides for easy removal later.
- Place the semisweet chocolate in a microwave-safe bowl. Microwave in 30-second intervals, stirring well after each interval, until the chocolate is smooth and fully melted. Do not overheat.
- Pour the melted semisweet chocolate into the prepared pan. Use an offset spatula to spread it into an even layer.
- Sprinkle half of the crushed candy canes evenly over the melted dark chocolate layer.
- Place the pan in the refrigerator while you prepare the white chocolate layer (about 5 minutes).
- Place the white chocolate in a separate microwave-safe bowl. Microwave in 30-second intervals, stirring until smooth. Stir in the peppermint extract.
- Pour the melted white chocolate over the dark chocolate layer. Gently spread it to cover the surface, being careful not to disturb the candy canes underneath.
- Immediately sprinkle the remaining half of the crushed candy canes over the white chocolate layer.
- Refrigerate the bark for at least 1 hour, or until the chocolate is completely firm.
- Once set, lift the bark out of the pan using the parchment paper overhang. Break or cut the bark into irregular pieces.
- Store the homemade peppermint bark in an airtight container at room temperature or in the refrigerator.
Notes
- For smooth melting, add 1 teaspoon of coconut oil or vegetable shortening to each chocolate type before microwaving. This helps prevent seizing.
- If you prefer a stronger mint flavor, add 1/4 teaspoon of peppermint extract to the dark chocolate layer as well.
- For beautiful, clean breaks, let the bark chill fully before snapping.
- This bark is excellent for holiday treat platters or wrapping in cellophane bags for easy Christmas candy gifts.
Nutrition
- Serving Size: 1 piece
- Calories: 180
- Sugar: 18g
- Sodium: 15mg
- Fat: 12g
- Saturated Fat: 7g
- Unsaturated Fat: 5g
- Trans Fat: 0g
- Carbohydrates: 19g
- Fiber: 1g
- Protein: 2g
- Cholesterol: 5mg