

When the summer heat just won’t quit, you need a treat that’s instantly cooling, incredibly fun, and frankly, adorable. That’s why I’m sharing my absolute favorite way to beat the humidity: Watermelon Mochi. Forget complicated bakes or fussy fillings; this recipe is pure joy in a bite-sized package. It captures that perfect combination of soft, chewy texture and bursting watermelon refreshment. My philosophy here is simple: amazing flavor shouldn’t demand all your time. If you’re rushing through deadlines like I often am, you still deserve something special. This sweet treat proves you can make something genuinely impressive without spending hours in the kitchen. You can find other quick ways to treat yourself in my guide to simple, delicious desserts. Trust me, this is the easiest way to feel like a dessert genius!
- Why This Watermelon Mochi Recipe Delivers Refreshing Fruity Mochi
- Gathering Your Ingredients for Watermelon Mochi
- How to Prepare Watermelon Mochi at Home
- Tips for Success Making Homemade Watermelon Treats
- Storage and Reheating Instructions for Watermelon Mochi
- Variations on Refreshing Watermelon Mochi
- Serving Suggestions for Your Pink Fruit Dessert
- Frequently Asked Questions About Watermelon Mochi Recipe
- Understanding the Nutrition of Watermelon Mochi
Why This Watermelon Mochi Recipe Delivers Refreshing Fruity Mochi
Look, I’ve tested countless ways to get that signature gummy texture, and I settled on this microwave method because it works every single time without fail. It’s all about giving you that amazing, satisfying bite without needing hours of steaming or kneading. This recipe is my go-to when I want a truly refreshing fruity mochi that impresses everyone.
- It’s incredibly fast! Total hands-on time is maybe 15 minutes. You get a stunning, colorful dessert without turning on the oven.
- This yields the perfect chewy watermelon dessert texture—soft, almost pillowy, but with that satisfying pull thanks to the right flour.
- We aim for a naturally beautiful color. No artificial bright pinks here unless you want them!
- It’s naturally gluten-free, so it’s fantastic for sharing with friends who have dietary needs.
Achieving Perfect Soft Rice Cake Dessert Texture
The secret handshake here is the flour: we *must* use glutinous rice flour, often called sweet rice flour or mochiko. Don’t substitute regular rice flour; it will give you something closer to paste than the magic chew we want in this soft rice cake dessert. The microwave does all the hard work, heating the starch just enough to gelatinize it, turning that watery batter into bouncy dough quickly.
Natural Pink Fruit Dessert Coloring
I absolutely love that we get our color straight from the source! Using fresh, strained watermelon juice means that your mochi stays a lovely, gentle pink—we’re talking dye free mochi territory here. That small amount of natural sugar and water in the juice also helps soften the dough slightly, balancing the starch perfectly. It tastes like summer!
If you’re curious about other quick desserts that deliver big flavor fast, check out my guide to making quick, easy 5-minute Oreo fudge. It’s a completely different vibe, but just as simple!
Gathering Your Ingredients for Watermelon Mochi
Okay, gathering your ingredients is step one, and honestly, it’s cheating a little bit because this list is so short! That’s the beauty of these homemade watermelon treats. You just need four things, and if you’ve ever made traditional mochi, you’ll likely have most of them already. Precision matters here, especially with the liquid, so make sure your watermelon is ready to go before you start combining anything.
Here is what you need to pull together for about 12 lovely little pieces:
- 1 cup glutinous rice flour (sweet rice flour)
- 1/4 cup granulated sugar
- 3/4 cup fresh watermelon juice (strained)
- 1 tablespoon cornstarch (for dusting)
If you need a quick side item or want to practice your confectionary skills first, my recipe for candied pecans is another simple winner!
Ingredient Notes and Substitutions for Chewy Fruit Snacks
Let’s talk about the star of the show here: the flour. You absolutely, positively need that glutinous rice flour. Sometimes it’s labeled as Mochiko in the store. If you try to use regular all-purpose flour or even regular rice flour, you’re just going to end up with soupy goo, not that delightful, bouncy texture we want in our watermelon mochi. It’s the specific starch structure that gives us that lovely, chewy fruit snack quality.
Now, for what you put *inside* the mochi—or what you don’t! The recipe above is beautifully simple if you just want the pure, fruity rice cake experience. But if you’re feeling fancy, this is where you can add a tiny filling. I like to keep a little container of frozen watermelon cubes on hand; you just drop one right into the center of your cut mochi circle before sealing it up. Alternatively, a small dollop of sweet red bean paste gives it a really lovely, traditional hint of depth against the light watermelon flavor.
How to Prepare Watermelon Mochi at Home
Now for the fun part—turning that pale pink liquid into bouncy, chewy magic! Because we’re using the microwave, this whole process moves fast, fitting perfectly into that busy schedule I know you have. This is the secret to making truly easy summer mochi that tastes incredible but takes almost no time.
Mixing and Cooking the Watermelon Mochi Dough
Grab a microwave-safe bowl—and I mean *safe*, this stuff gets hot! First, whisk together your glutinous rice flour and sugar right in the bowl. Then, slowly pour in that strained watermelon juice and whisk until it’s totally smooth. Make sure there are no dry pockets hiding at the bottom. Cover the bowl loosely with plastic wrap, but leave a little vent so the steam can escape instead of creating a soup explosion. Microwave it on high for one minute. When you take it out, stir it well—it’ll look messy and partially cooked, that’s normal! Cover it again and microwave for another full minute. Stir again thoroughly. Your payoff is coming: microwave it a final 30 seconds to a minute. You know it’s done when the whole mess looks translucent and sticky, not dry or floury anymore.
Handling and Shaping Your Bite Sized Summer Sweets
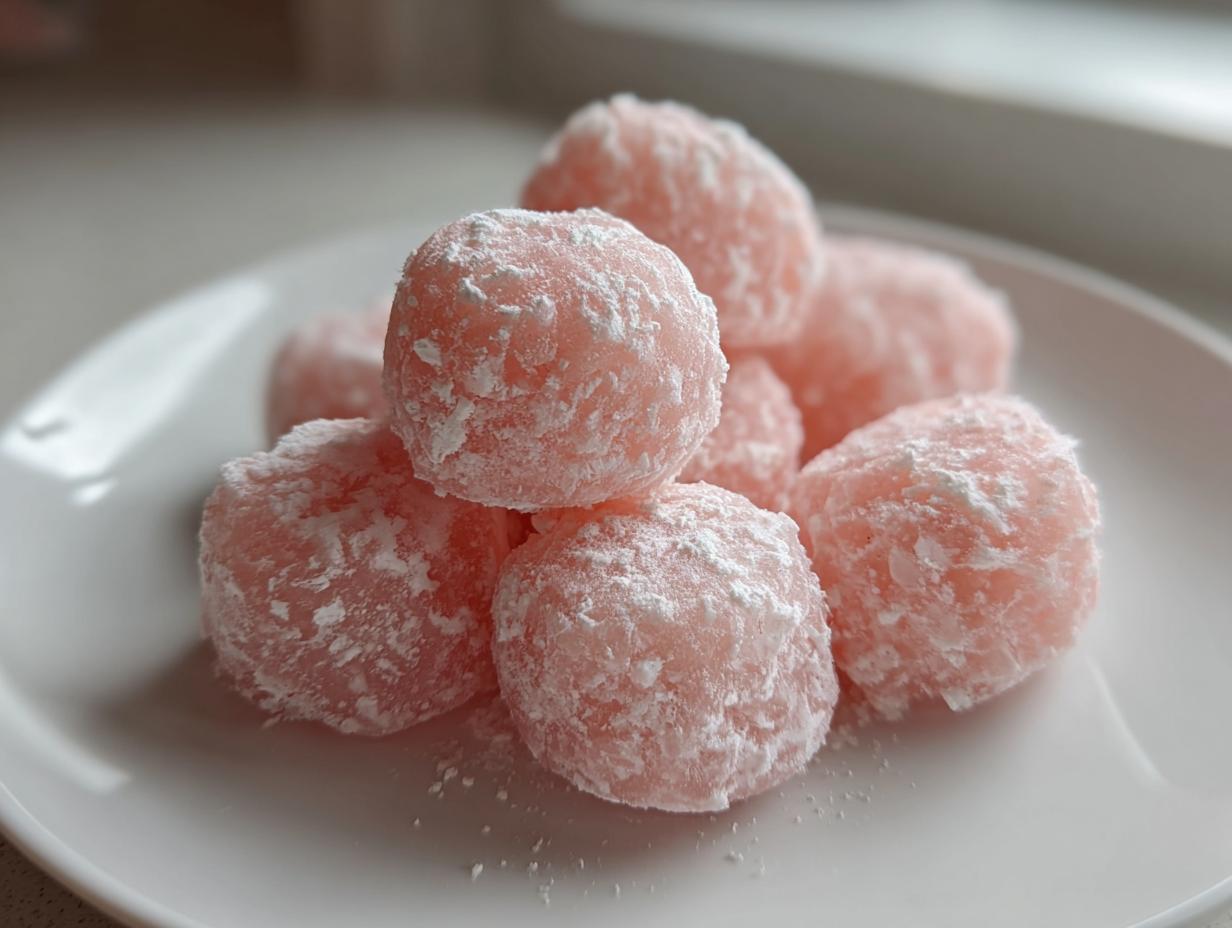
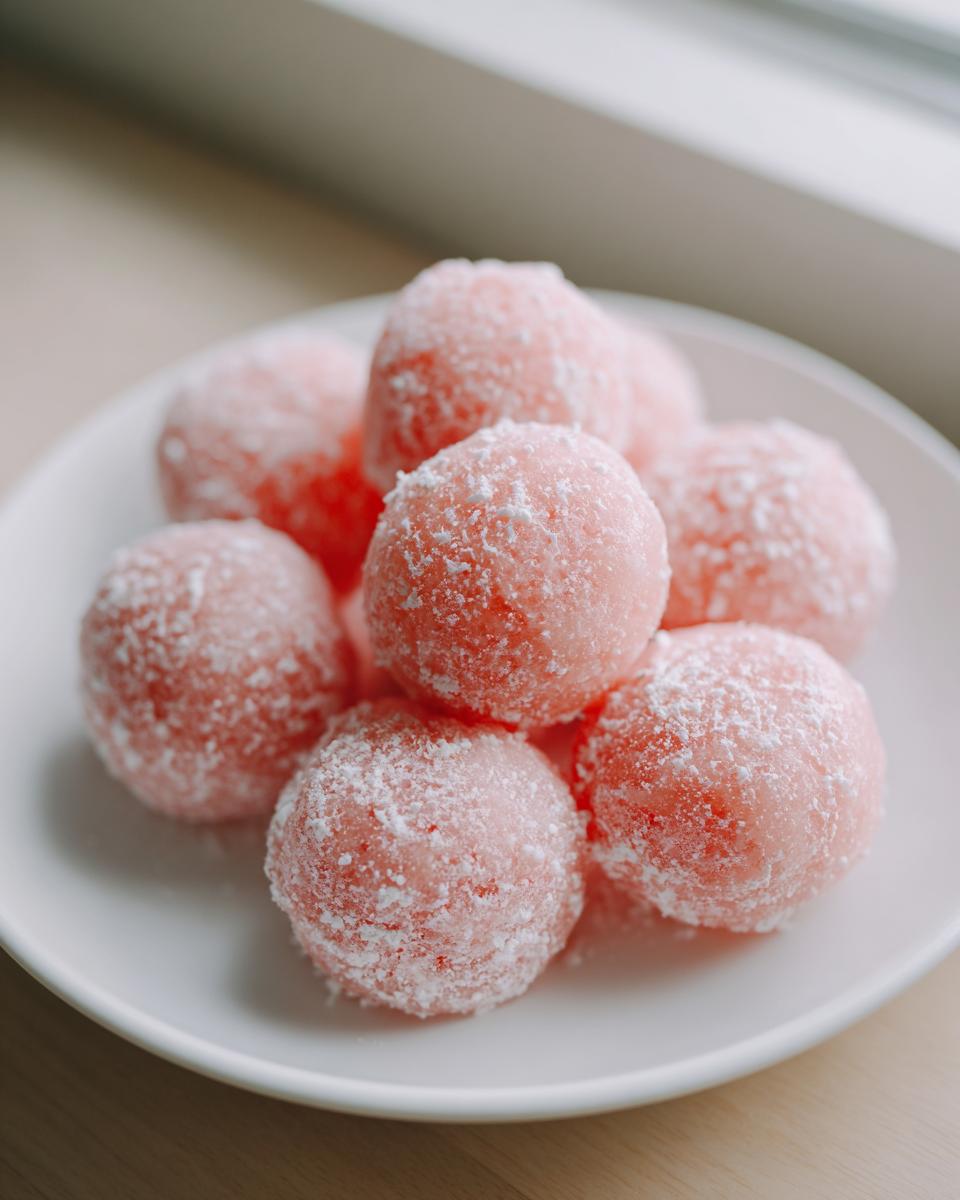
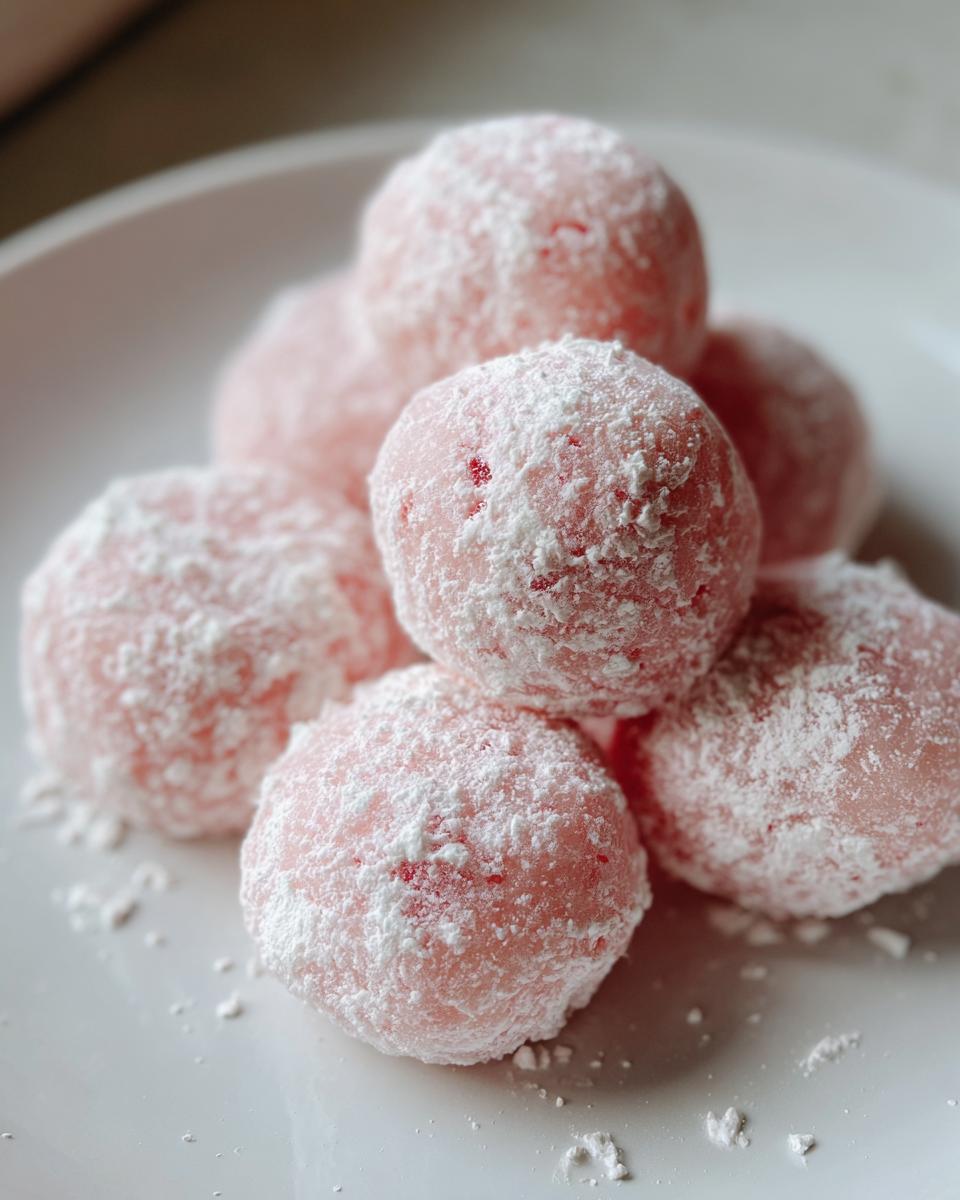
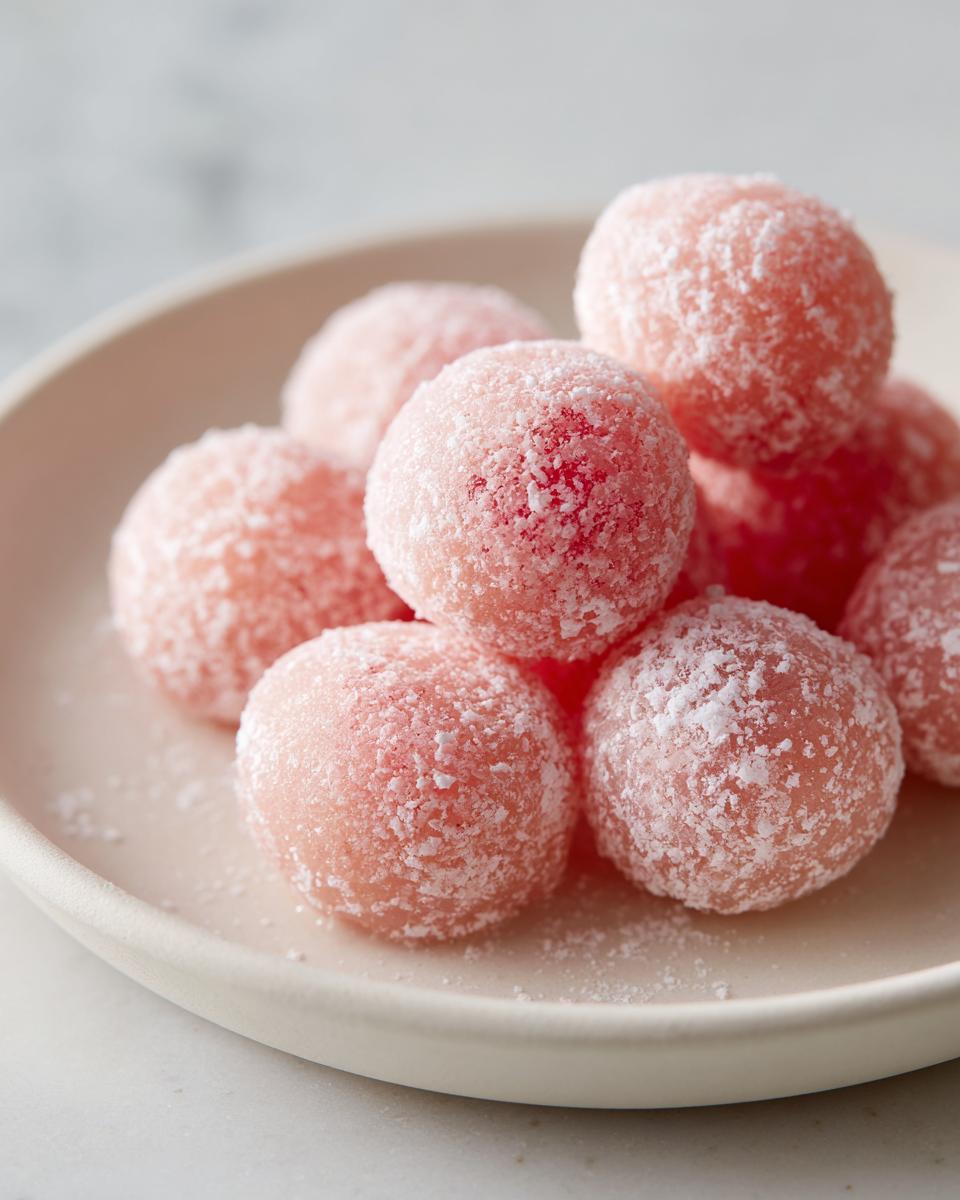
Stop! Before you even think about touching that hot dough, you need your cornstarch. Generously dust your workspace—a cutting board or large plate works best. Scrape that steaming hot mochi onto the starch. Dust the top of the dough lightly too! This is key so you can handle it. Use a bench scraper or a sturdy knife to gently fold and knead the dough right there on the starch until it smooths out and feels manageable. Please, don’t overwork it! If you knee it into submission, it gets tough instead of chewy. Once it’s smooth, dust your hands, roll it out to about a quarter-inch thickness, and use a small round cutter—a wine glass rim works surprisingly well—to stamp out your gorgeous bite sized summer sweets. Pop them on parchment paper and let them cool down completely before enjoying them chilled!
If you want to see another ultra-fast, satisfying recipe that comes together on the stovetop, I’ve got the details for quick, easy one-pot beans and rice that’s perfect for a fast dinner later this week!
Tips for Success Making Homemade Watermelon Treats
I’ve learned a thing or two about mochi mush—mostly by making it! When you are figuring out exactly how to make mochi at home, the texture can sometimes fight you. I remember the very first time I tried to roll this out, I was too nervous about the sticking, so I didn’t use enough cornstarch on my board right away. Big mistake! The hot dough fused to the counter inside thirty seconds, and I nearly cried trying to scrape off the ruined bits. You need way more starch than you think, especially when dealing with wet fruit juice dough.
Here are the few things I insist on now to guarantee perfectly pliable, non-sticky homemade watermelon treats:
- Be Generous with Dusting: Don’t skimp on that cornstarch when you turn the dough out! It’s your protective barrier. If you find yourself struggling while rolling, just toss a little more powder over the top. It’s better to dust off excess starch later than to fight a sticky disaster now.
- Handle with Speed: Once the dough is cool enough to handle (still warm is best), work quickly! As it cools completely, the dough firms up and becomes slightly less forgiving to roll thinly.
- Don’t Overmix the Dough: When you’re stirring it after microwaving, you’re just trying to incorporate the cooked and uncooked parts. Once you turn it out onto the starch, knead just until smooth—maybe 10 or 12 folds total. Overworking it wakes up the gluten structure in the wrong way, which makes it tough, not chewy.
- Keep it Cold for Serving: These watermelon mochi are fantastic straight from the fridge. The cold temperature firms them up just enough so they hold their cute shape beautifully.
For another incredibly simple recipe where technique truly matters for texture, you should definitely check out my easy brioche bread recipe. It’s bread, so it’s different, but the principle of treating your main ingredient gently applies across the board!
Storage and Reheating Instructions for Watermelon Mochi
Okay, so you’ve made these gorgeous, bite-sized sweets, and you have a few leftovers—which never happens at my house, but I’m being optimistic for you! You definitely want to eat watermelon mochi within a day or two because, just like any fresh dough product, it will start to lose its perfect soft texture quickly, even in the fridge.
Here’s my reliable routine for keeping them perfect:
- Airtight is Absolute Best: You must store them in an airtight container. Moisture loss is the enemy of chewiness! I like to place a small piece of parchment paper between the layers if I stack them, just to make sure they don’t ever weld themselves together.
- Fridge is Mandatory: Because we’re dealing with fresh fruit juice here, these need to be kept cold. Pop that sealed container into the refrigerator right away. They should keep pretty well for up to two days, but remember, day one is always the peak experience.
- Skip the Reheating: Don’t even try to microwave them to warm them up! That’s a recipe for turning chewy mochi into hard, rubbery discs. These are designed to be enjoyed cold or at cool room temperature. If they’ve been chilly, just pull them out about 15 minutes before you plan to eat them to let them soften up just a tiny bit. Seriously, they are meant to be a cooling dessert idea, so embrace the chill!
Variations on Refreshing Watermelon Mochi
Once you nail this base recipe—which you totally will—the real fun starts because watermelon mochi is a perfect canvas for flavor experimentation! I mean, why stop at just watermelon when you have this fantastic, chewy base ready to go? I love making a small batch of these just to try out new flavor combinations, especially when I have extra juice left over from cutting up fruit for breakfast.
For a slightly brighter, sunnier taste, try adding a tiny bit of citrus zest right into the dough when you mix the dry ingredients. A teaspoon of lime zest works wonders with watermelon, elevating that fruitiness without overpowering it. It makes the finished treat taste even more vibrant!
For serious flavor boosters, check out how I make my easy raspberry jam recipe with no pectin; a tiny dollop of that jam inside the mochi shell instead of frozen fruit is incredible!
If you’re not strictly sticking to the pure, dye-free look and want a fun surprise inside, think about switching up the filling completely. While I adore the frozen watermelon cube trick for maximum refreshment, sometimes I want something richer. A small, chilled cube of mango paste or even a tiny bit of plain, unsweetened cream cheese (if you aren’t worried about it being dairy-free) creates a wonderful contrast with the very light watermelon dough. Just remember, whatever you wrap inside needs to be small—we’re making cute, bite-sized summer sweets here, not giant dumplings! This flexibility is what keeps me coming back to this recipe all summer long.
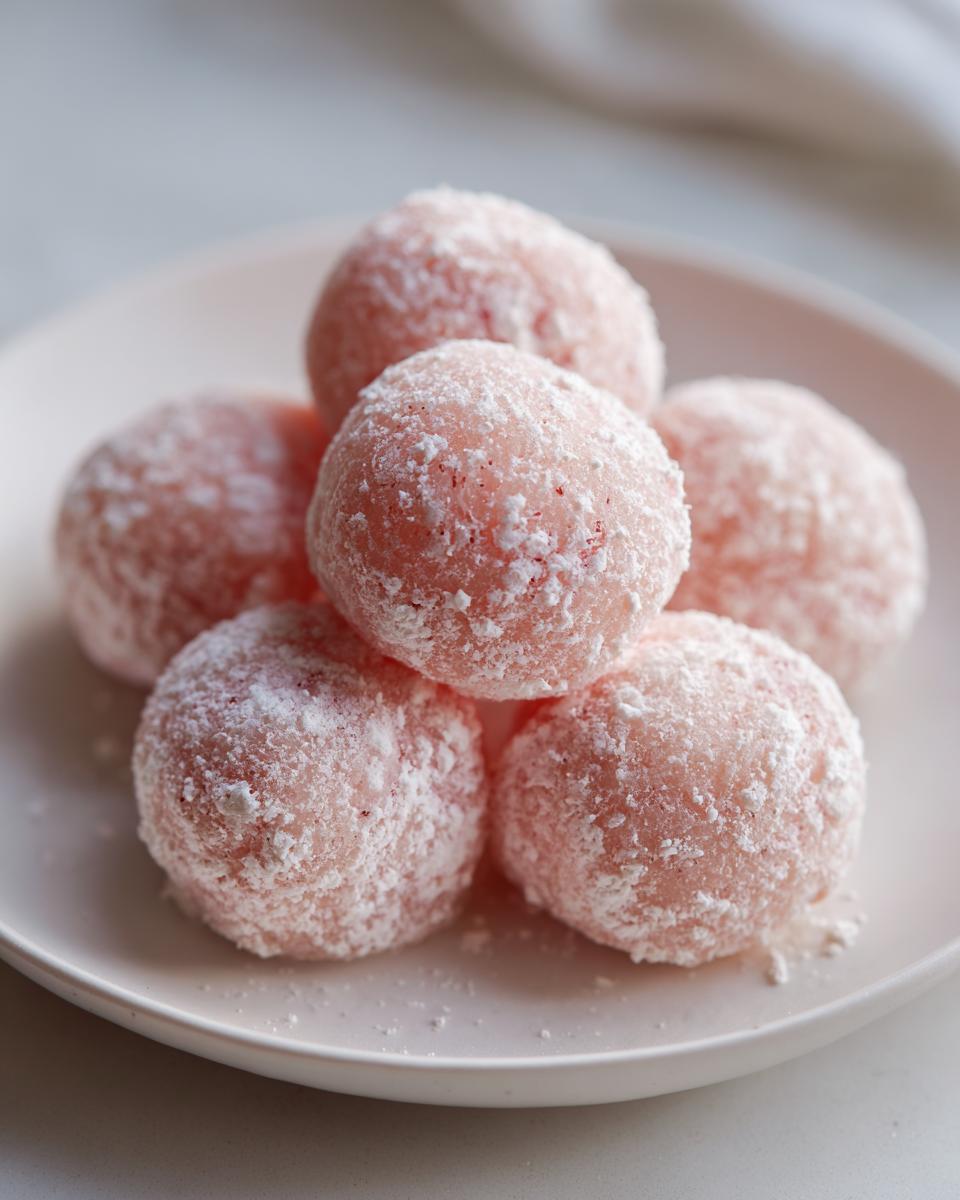
Serving Suggestions for Your Pink Fruit Dessert
We’ve made these adorable watermelon mochi, and they look like little pink jewels, right? Trying to decide what to serve them with can be almost as fun as making them! Since these are such a light, refreshing treat, you want things to pair nicely without weighing down that delicate texture we worked so hard to achieve. They are honestly perfect all by themselves, but if you’re putting together a platter or hosting a little backyard gathering, I have a few favorite tricks for plating them up beautifully.
First off, let’s talk garnish. That dusting of cornstarch is functional, but we can make it look fancy! Once your mochi is completely set, skip the dusting entirely, or just brush off the excess. Instead, I love to lay them out on a white serving platter—that contrast really makes the pink pop. Then, I sprinkle just a tiny amount of finely chopped mint leaves over the top. It adds the most lovely, unexpected green accent and a gentle aroma that pairs perfectly with the fruit.
For beverages, keep it light! Forget heavy sodas. These go hand-in-hand with freshly brewed iced tea—unsweetened or lightly sweetened with a splash of lemon. If you’re serving kids, a simple sparkling water with a slice of actual watermelon floating in it makes the whole experience feel intentional and summery.
If you’re looking for something a little more substantial for dessert that still screams summer flavor, you have to try my easy Southern peach cobbler recipe. It’s warm and comforting, which is the perfect counter-balance to these icy cold mochi bites!
You can also turn this into part of a bigger Asian-inspired dessert spread. Place the pink fruit dessert alongside some crispy almond cookies or small bowls of chilled coconut milk tapioca. The different textures—chewy, crunchy, creamy—make every bite exciting. Remember, the whole point of these treats is bringing ease and joy to your busy life, so don’t feel pressured to create a huge spread. A beautiful plate of these chilled, chewy delights is an instant win!
Frequently Asked Questions About Watermelon Mochi Recipe
I know when you see a recipe that looks this cute and easy, you’re going to have questions! Don’t worry, I’ve anticipated all of them. These little bites are so satisfying, and I want to make sure your first batch of watermelon mochi turns out perfectly chewy and sweet. I’ve answered the most common things people ask me when they’re trying this out for the first time, especially newcomers to making that classic bouncy texture at home!
Can I use watermelon puree instead of juice for this Watermelon Mochi Recipe?
That’s a great question, and honestly, it depends on what you mean by puree! If you just blend the watermelon without straining it, you’re adding too much pulp, fiber, and general thickness to the mixture. That pulp acts like extra dry ingredients, and it throws off the water ratio we need for the dough to properly activate in the microwave. So, the answer is yes, you *can* use puree, but you absolutely must strain it really well through a fine-mesh sieve first. We need pure, smooth liquid for that signature smooth texture in our Watermelon Mochi Recipe.
Is this Easy Summer Mochi recipe naturally Gluten Free Watermelon Dessert?
Yes, 100%! One of the biggest perks of this recipe is that it’s naturally suited for folks avoiding gluten that rely on rice flour for their treats. Because we are using glutinous rice flour—mochiko—and no wheat products at all, this checks the box for a wonderful Gluten Free Watermelon Dessert. It’s one of those amazing Asian snacks that just happens to align perfectly with dietary needs!
How long does it take to make this Chewy Watermelon Dessert?
This is why I love this treat for busy days! Prep time is lightning fast, usually about 15 minutes to get the juice ready and mix everything. The actual cooking in the microwave takes maybe 3 or 4 minutes total, stirring in between, and then you need about 5 minutes to dust, roll, and cut. If you work efficiently, you can have these adorable chewy watermelon desserts cooling on the counter in under 25 minutes! It’s seriously the definition of an easy summer mochi.
If you’re still feeling like you need more quick ideas in your life, take a peek over at my general About Page to see what other quick fixes I’ve developed for busy home cooks like us!
Understanding the Nutrition of Watermelon Mochi
I know you’re checking this section because, even when we’re making something fun and sweet like watermelon mochi, we still like to have a general idea of what’s in it, right? I’ve done my best to break down the numbers for you based on the strict measurements in the recipe, but please keep in mind these figures are just estimates!
Since this recipe uses simple ingredients like rice flour, sugar, and fruit juice—and we’re not adding heavy creams or oils—these little treats are surprisingly light. They make for a fantastic, guilt-free finish to a big dinner or a perfect little pick-me-up snack during the afternoon slump. If you’re trying to balance out your day with some healthier choices overall, you might want to check out my tips for healthy lunch recipes later in the week.
Here is the estimated nutritional breakdown for one piece of this refreshing fruity mochi:
- Serving Size: 1 piece
- Calories: 75
- Sugar: 8g
- Sodium: 1mg
- Fat: 0g
- Saturated Fat: 0g
- Unsaturated Fat: 0g
- Trans Fat: 0g
- Carbohydrates: 17g
- Fiber: 0g
- Protein: 1g
- Cholesterol: 0mg
See? Very manageable! That low-fat and low-cholesterol count means this is truly a light dessert option for your summer gatherings.
PrintEasy Watermelon Mochi Recipe

Make soft, chewy Watermelon Mochi, the perfect refreshing summer sweet. This recipe blends juicy fruit flavor with classic rice dough for a bite-sized, gluten-free Asian treat.
- Prep Time: 15 min
- Cook Time: 5 min
- Total Time: 20 min
- Yield: About 12 pieces 1x
- Category: Dessert
- Method: Microwave
- Cuisine: Japanese
- Diet: Gluten Free
Ingredients
- 1 cup glutinous rice flour (sweet rice flour)
- 1/4 cup granulated sugar
- 3/4 cup fresh watermelon juice (strained)
- 1 tablespoon cornstarch (for dusting)
Instructions
- Combine the glutinous rice flour and sugar in a microwave-safe bowl.
- Whisk in the strained watermelon juice until the mixture is smooth and lump-free. The batter should be a light pink color.
- Cover the bowl loosely with plastic wrap, leaving a small vent. Microwave on high for 1 minute.
- Remove and stir the mixture well. It will be sticky and partially cooked. Re-cover and microwave for another 1 minute.
- Stir again. Microwave for a final 30 seconds to 1 minute, until the dough is translucent and very sticky.
- Dust a clean surface generously with cornstarch. Scrape the hot mochi dough onto the cornstarch.
- Dust the top of the dough lightly with more cornstarch. Use a bench scraper or knife to gently fold and knead the dough until it is smooth and manageable. Do not overwork it.
- Dust your hands with cornstarch. Roll the dough out into a thin sheet, about 1/4 inch thick.
- Use a small round cookie cutter or the rim of a glass to cut out circles.
- Place the cut mochi circles on a plate lined with parchment paper. Let them cool completely before serving chilled.
Notes
- For a deeper pink color, you can add one drop of natural red food coloring, but fresh watermelon juice often provides enough natural color.
- Store leftover mochi in an airtight container in the refrigerator for up to two days. They taste best the day they are made.
- If you want a filling, use a small cube of frozen watermelon or a dollop of sweet bean paste before sealing the mochi circle.
Nutrition
- Serving Size: 1 piece
- Calories: 75
- Sugar: 8
- Sodium: 1
- Fat: 0
- Saturated Fat: 0
- Unsaturated Fat: 0
- Trans Fat: 0
- Carbohydrates: 17
- Fiber: 0
- Protein: 1
- Cholesterol: 0