

I get it—the clock is ticking, the holiday trays need filling, or maybe you just need a homemade chocolate fix *yesterday*. That’s exactly why I’m obsessed with making life easier without sacrificing flavor around here. If you feel like you never have time to bake, you need to know about my ultimate shortcut dessert: the **cool whip candy**! This isn’t some fussy cookie; we’re talking about taking three simple, accessible ingredients and turning them into a fluffy, melt-in-your-mouth treat that tastes shockingly close to a 3 Musketeers bar.
Here at Cooking by Felix, our whole philosophy is about showing you that extraordinary food doesn’t require hours of stress. This recipe is the perfect example of that. It’s fast, it’s cheap, and it’s perfect for when you need a fast party treat or a sweet surprise. If you love quick dessert shortcuts, you should absolutely check out my easy 3-ingredient fudge recipe too!
We’re keeping everything streamlined here. If you’ve ever wanted to make amazing homemade chocolate candy bars without turning on the oven, this is your moment. Let’s dive into the easiest good thing you’ll make all year.
- Why This Easy Cool Whip Candy Recipe is a Must-Make
- Gathering Ingredients for Your Cool Whip Candy
- Step-by-Step Guide to Making No Bake Cool Whip Treats
- Tips for Perfect Cool Whip Candy Every Time
- Serving Suggestions for Your Quick Holiday Candy
- Storage and Reheating Instructions for Cool Whip Candy
- Troubleshooting Common Cool Whip Candy Issues
- Estimated Nutritional Data for Cool Whip Candy
- Share Your Easy Cool Whip Candy Creations
Why This Easy Cool Whip Candy Recipe is a Must-Make
Honestly, who has time for complicated candy making anymore? That’s why these **No Bake Cool Whip Treats** are genius. They deliver that rich, satisfying chocolate experience people crave, but they don’t require any fuss. It truly is one of the simplest things you can whip up!
If you want real results fast, you need to try this. It’s incredibly satisfying to see how much flavor this recipe packs in for practically no effort. We are talking about an actual **3 Ingredient Candy** that tastes like you slaved over it for hours!
Minimal Ingredients for Maximum Flavor
I love that this becomes a totally **budget friendly candy** solution. You probably have powdered sugar lying around, and the rest is super basic. You don’t need fancy tempering equipment or gourmet chocolate. It proves that sometimes the best things in life—and the best sweets—are the simplest ones.
The Perfect Fluffy Chocolate Candy Texture
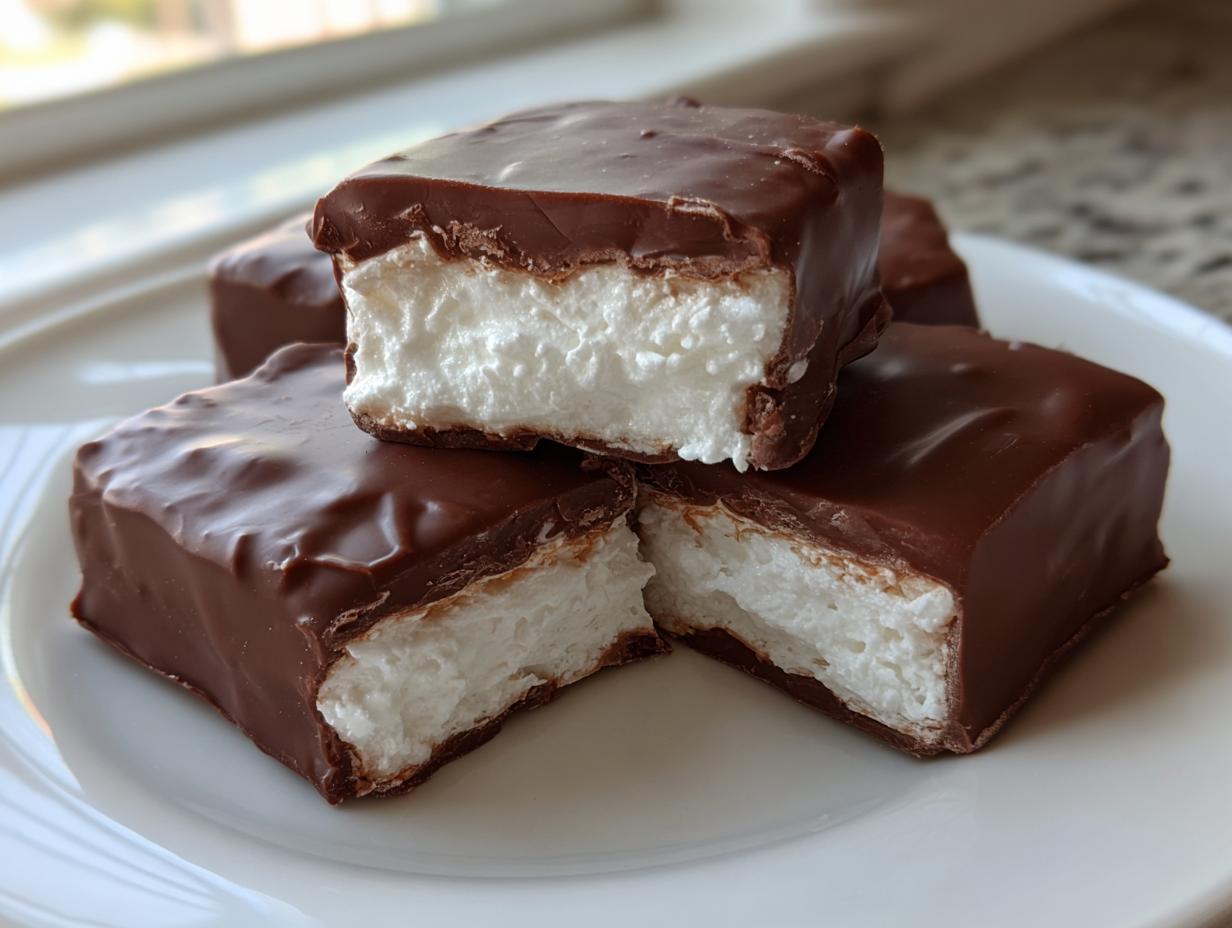
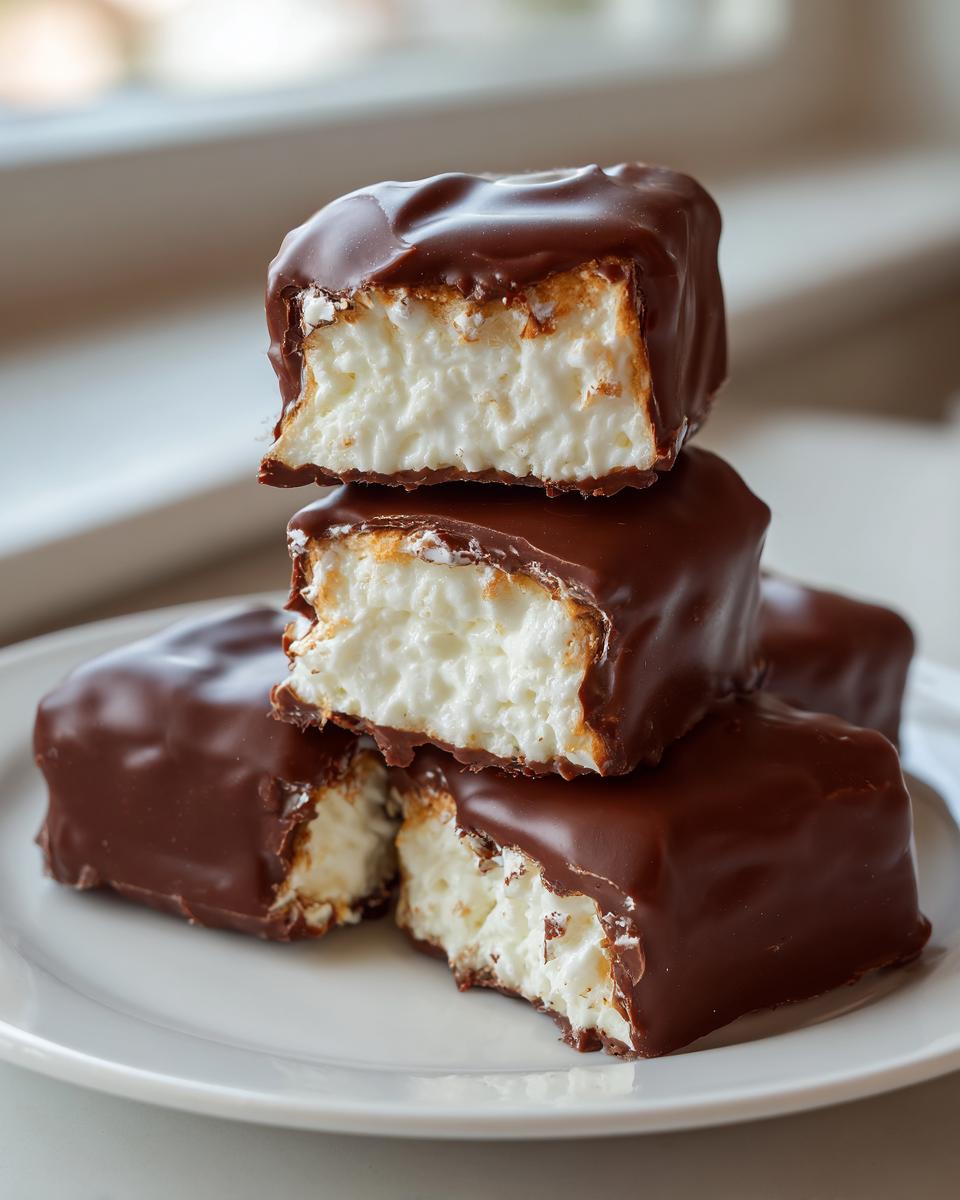
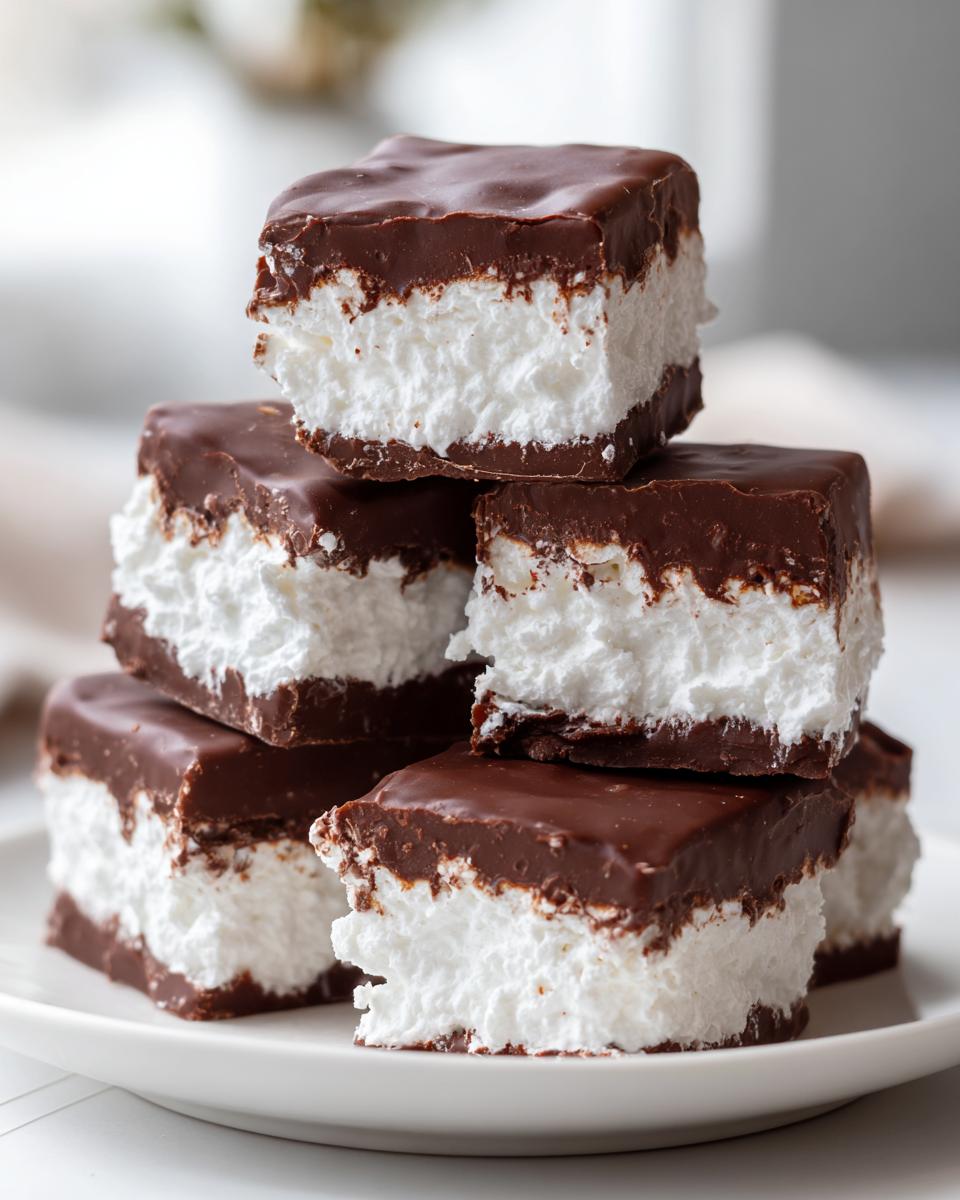
This is where the magic truly happens. Forget dense, heavy fudge; we are aiming for airy bliss. People constantly tell me this tastes exactly like a **3 Musketeers Copycat Recipe**. The whipped topping creates this beautiful, light interior that makes it a genuine **melt in your mouth candy**. It’s heavenly, trust me.
If you’re looking for another quick win that uses a similar philosophy of easy mixing, you must bookmark my easy white chocolate fudge recipe for the next time you need a quick tray filler!
Gathering Ingredients for Your Cool Whip Candy
Okay, this is the simplest part! Because we only have three core components for this phenomenal **Cool Whip Candy**, quality matters just a tiny bit more. We need to make sure everything is ready to go before we start mixing, because once that nougat base comes together, you want to get it into the freezer ASAP so it sets up right.
For the base, you’ll need your powdered sugar and the thawed whipped topping. Seriously, make sure that topping is fully thawed—we don’t want icy pockets in the middle! Then, we grab the chocolate chips for the coating. If you want a slightly more grown-up flavor, skip the semi-sweet chips and go for good quality dark chocolate. Trust me on that rich flavor boost!
If you need another incredibly accessible recipe that moves fast, my easy Filipino cassava cake recipe keeps that spirit of simple, satisfying baking alive!
Ingredient Notes and Substitutions for Cool Whip Candy
Here are the essential details you don’t want to mess up. First, that whipped topping? It needs to be completely defrosted, but watch out—if you let it sit too long after thawing, it starts getting watery and separating. That weepage is the enemy of light texture, so once it’s soft, use it! If you feel like you’re going to use these for gifting, you can absolutely substitute the standard semi-sweet chips with a better quality dark chocolate for a gourmet touch, or even use white chocolate if you prefer that route. Just remember, whatever chocolate you pick, it needs to melt beautifully so you get that perfect shell!
Step-by-Step Guide to Making No Bake Cool Whip Treats
This is the payoff! Because this falls into the category of **No Oven Desserts**, you get instant gratification when this candy comes together. We need to move efficiently, but carefully, especially when mixing the base. Don’t stress about fancy equipment; a sturdy wooden spoon or a handheld electric mixer works perfectly fine here.
First things first: get a parchment sling ready in your 8×8 pan. This is non-negotiable for easy removal later. Once that’s set, we move to the nougat. If you want another incredible recipe that skips the oven entirely—you absolutely have to try my dirt cake ultimate no-bake Oreo recipe!
Preparing the Fluffy Nougat Base
Grab your thawed whipped topping and your powdered sugar. You are going to combine these gently. I cannot stress this enough: mix it just until there are no streaks of white sugar left. If you beat this mixture too long or too hard, you knock all the air right out of that topping, and suddenly, your **Fluffy Chocolate Candy** turns into a dense, sticky disk. Mix until combined and smooth, then press it evenly into your prepared pan. Give it a good press down so it’s tight and firm for cutting later. Now, into the freezer it goes for at least an hour! It needs to be rock solid before it meets the chocolate.
Melting Chocolate for the Coating
While the base is chilling, get your melting situation sorted. Don’t stare at the microwave waiting for the chocolate chips to melt; they’ll burn before you know it! Place them in a safe bowl and zap them for 30 seconds. Stir it really well, even if it looks like nothing happened. Then, hit it again for 20 seconds, and keep stirring until it smooths out. Those short intervals are the secret weapon for smooth, glossy chocolate. If you see any lumps, another 10 or 15 seconds—but always stir more than you microwave!
Assembling Your Homemade Chocolate Candy Bars
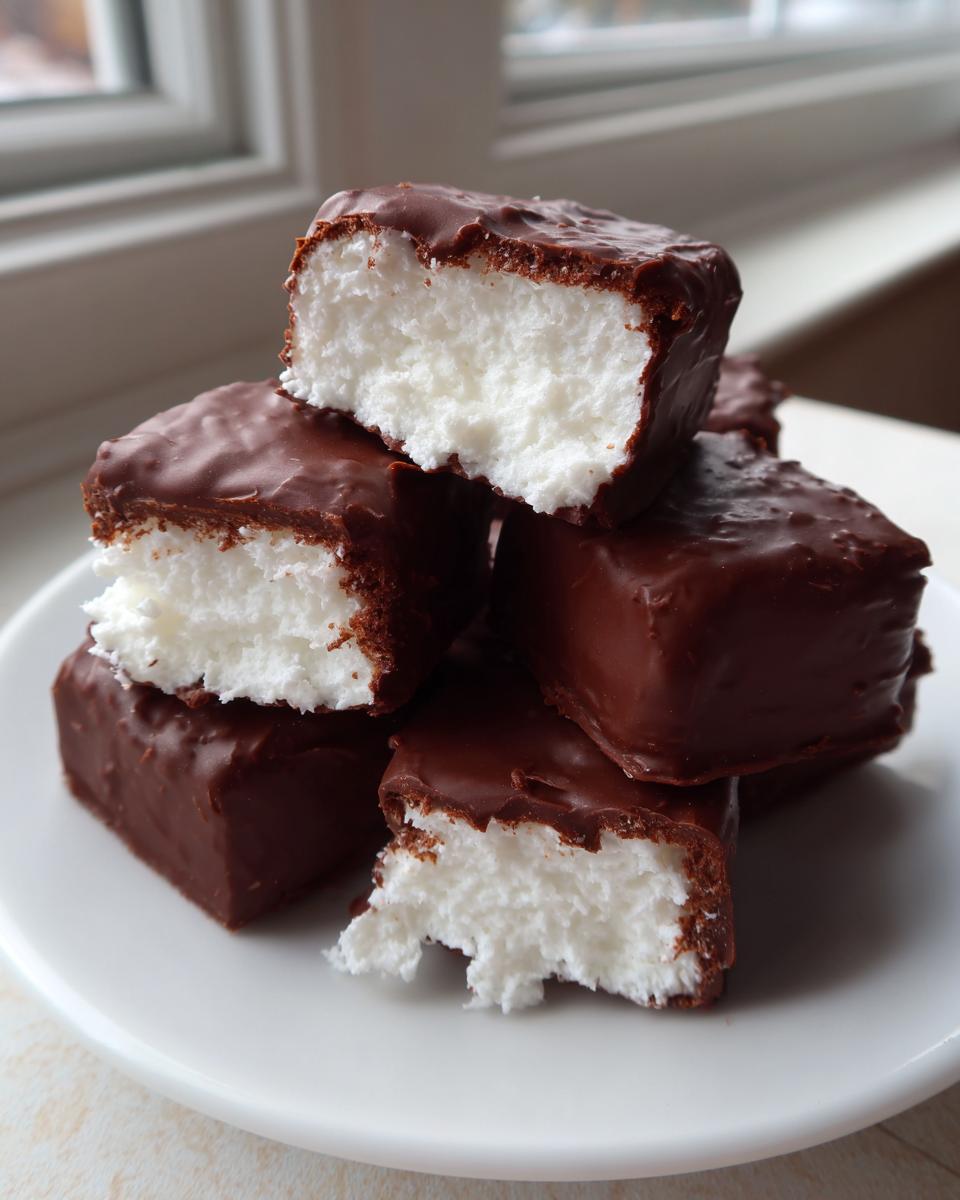
Once that whipped topping block is frozen solid, use your parchment paper sling to lift the whole thing out onto a cutting board. Now is the easiest time to cut it! Slice the block into small squares—think about the size of a small fun-sized candy bar. I find cutting it first is cleaner than trying to cut through the thick chocolate later. Then, using a fork, dip each square into that warm melted chocolate. Make sure the bottom is coated too! Set them on a fresh piece of parchment paper to firm up. You can pop this tray in the fridge for 15 minutes to rush the chocolate hardening process, and then, boom, you’re done!
Tips for Perfect Cool Whip Candy Every Time
Getting that professional look with something so simple takes just a couple of little tricks up my sleeve. Temperature control is your best friend here. If your nougat base isn’t rock solid, cutting it will be a gooey, frustrating mess, and the chocolate will just slide right off. So, after that initial hour in the freezer, give it an extra 15 minutes if you think it’s soft at all!
The second big tip revolves around the coating. You want that chocolate to look glossy, not dull or crumbly. That only happens if the surface you’re dipping onto is *cold*. The sharp temperature contrast between the frozen candy and the melted chocolate forces the chocolate to set fast and creates a smoother shell. And just a reminder—if you ever feel like you need a fast, savory shortcut after all this sugar, my quick and easy homemade BBQ sauce recipe is right there waiting for you!
Serving Suggestions for Your Quick Holiday Candy
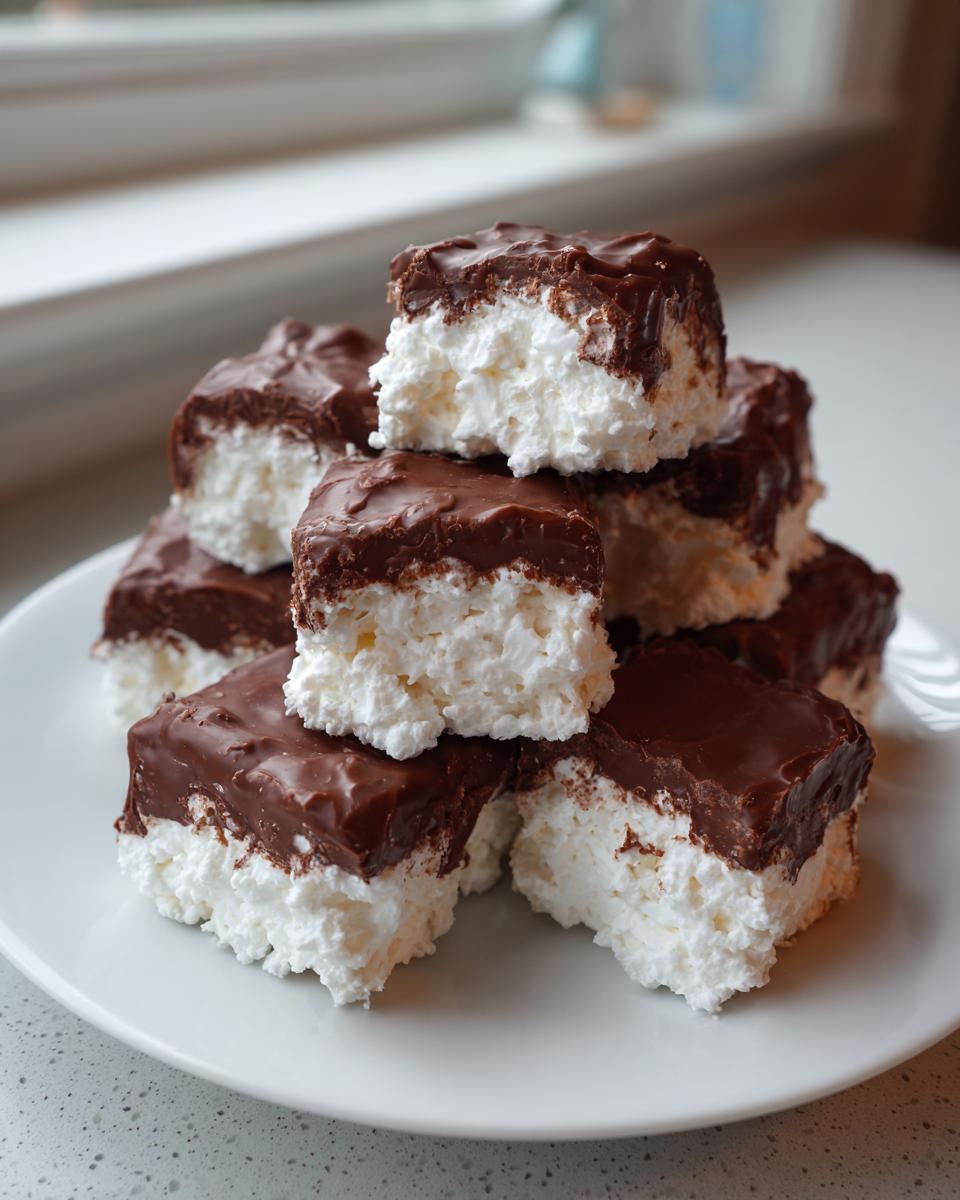
Once you’ve got your beautiful little chocolate-dipped bites, the next fun part is showing them off! Because this turns into such **Quick Holiday Candy**, presentation is key. You want people to look at your platter and think you spent days creating these amazing treats, not 15 minutes!
For parties, I love laying them out on a tiered, silver platter. The contrast between the dark chocolate and the bright white platter always looks so festive. If you’re taking these to a cookie exchange or giving them as gifts—which is so easy to do with this recipe—you need to use those little foil or paper candy cups. Just fit one **Cool Whip Candy** square into each tiny cup; it gives it a professional look instantly and keeps the chocolate from smudging on everything else.
Think about pairing these with something festive! If you’ve already been baking some of my other holiday treats, like my Christmas tree cinnamon rolls recipe, these candies make the perfect little accent piece on your dessert table. They’re small, they look fancy, and you barely broke a sweat making them—that’s a win in my book!
Storage and Reheating Instructions for Cool Whip Candy
Since these little masterpieces rely heavily on frozen whipped topping to hold their shape, the refrigerator is their best friend immediately after setting the chocolate shell. Because they are essentially no-bake, creamy desserts, leaving them on the counter is just asking for trouble! You absolutely must store your **Cool Whip Candy** in the fridge.
I put mine in a large, rigid, airtight container. You need to make sure you have a layer of parchment or wax paper between layers if you stack them, otherwise, that chocolate coating will fuse to the candy layer above it, and you’ll ruin your beautiful dipping work when you try to separate them!
How long do they last? Because they are so rich and full of sugar, they actually hold up quite well! If stored properly in the fridge, they stay fresh for about a week. I’ve honestly eaten them after ten days and they were still perfectly fine, but I recommend aiming for that week-mark for the absolute best texture. If you’re making them ahead for a big holiday party, that’s perfect; this is a fantastic make ahead candy solution!
Now, about reheating—we don’t reheat this, honey! The whole joy of this candy is that cold, firm, melt-in-your-mouth sensation. If you take them out of the fridge to serve, just let them sit on the counter for maybe 10 minutes before digging in. That little bit of time allows the chocolate to soften just slightly but keeps the fluffy center nice and cool!
Troubleshooting Common Cool Whip Candy Issues
Even the easiest recipes can sometimes throw a curveball, and I want you prepared for absolutely everything! When making any **Cool Whip Candy**, you’re relying on freezing and melting, which means temperature mistakes happen. My goal is to make sure every batch you pull out of the freezer looks perfect, just like my easy cranberry brie bites recipe.
The most common trouble spot, hands down, is the nougat center failing to set up correctly. If you pull that block out and it’s soft, or if it crumbles when you try to cut it, guess what? It just didn’t freeze long enough! Don’t rush this step. If you press on it gently and it feels squishy at all, slide it back in for another 30 to 60 minutes. We need that whipped topping base to be totally firm to handle the weight of the chocolate coating.
The second big panic moment happens when you look at your bowl of melted chocolate and it suddenly looks grainy, stiff, or like wet sand. That, my friends, is seized chocolate. Often this happens if even one tiny drop of water gets into the bowl—I’m talking steam from the microwave is enough! If your chocolate seizes, don’t throw it out! You can usually save it by stirring in about a teaspoon of neutral oil, like vegetable oil, or even a tablespoon of clear corn syrup. Keep stirring carefully until it loosens up and becomes glossy again. It might not be perfect for coating sculptures, but it’s absolutely fine for dipping your **Fluffy Chocolate Candy**!
Estimated Nutritional Data for Cool Whip Candy
I know some of us obsess over the numbers, especially when we’re sneaking in a homemade treat like this **Cool Whip Candy**! It’s really important to remember that because this is a ‘no bake’ dessert and we are working with ingredients like chocolate and whipped topping, these figures are definitely estimates. They are based on standard ingredient brands and dividing the recipe into about 24 small squares, which is my preferred size for a quick indulgence.
If you’re watching things closely, know that this is a dessert, so the sugar content is going to be present, but because we are using the whipped topping, it keeps the overall density—and thus the calorie count per piece—lower than a heavy, old-fashioned fudge. It’s a great ingredient in my easy coconut curry soup recipe, but obviously, this candy is a different story!
Here is the breakdown per piece, based on the ingredients listed:
- Serving Size: 1 piece
- Calories: 110
- Sugar: 12g
- Sodium: 15mg
- Fat: 6g
- Saturated Fat: 3.5g
Keep in mind that if you swap out semi-sweet chocolate for milk chocolate, that fat and sugar count will nudge upwards slightly! Enjoying these sweet little bites should feel satisfying, not stressful, so use this information as a guide, not a rigid law!
Share Your Easy Cool Whip Candy Creations
Alright, you’ve made it to the end, and that means you’ve got a batch of the absolute best **Simple Whipped Topping Dessert** cooling somewhere safe! Now, I need to see what you’ve done! We build this community on sharing successes, and I truly want to know how these turned out for you.
Did you rate this recipe? If you loved it, please give it a big 5-star rating right below this section so other busy cooks know this shortcut is legit! And please, drop a comment below and tell me—did you think it really nailed that **3 Musketeers similarity**? That’s the comparison I love hearing about most!
When you share photos of your beautiful, chocolate-dipped squares on social media, please tag me! I always love seeing your spins on my recipes. If you want to dive into another classic comfort food that’s always a winner, you have to look at my creamy, foolproof deviled eggs recipe for your next potluck.
And if you’re looking for another place to see what other people are loving in the world of simple, no-fuss sweets, check out this popular take on the Fluffy Cool Whip Candy! Happy snacking, everyone!
PrintEasy 3-Ingredient Cool Whip Candy (3 Musketeers Copycat)

Make this simple, no-bake Cool Whip Candy that tastes like a fluffy 3 Musketeers bar. It uses only three ingredients and sets up fast, making it a perfect quick holiday treat.
- Prep Time: 15 min
- Cook Time: 2 min
- Total Time: 1 hour 17 min
- Yield: About 24 pieces 1x
- Category: Dessert
- Method: No Bake
- Cuisine: American
- Diet: Vegetarian
Ingredients
- 1 cup powdered sugar
- 1 cup thawed frozen whipped topping (like Cool Whip)
- 1 cup semi-sweet chocolate chips
Instructions
- Line an 8×8 inch pan with parchment paper, leaving an overhang for easy removal.
- In a medium bowl, mix the powdered sugar and the thawed whipped topping until fully combined and smooth. This forms your nougat base.
- Press the mixture evenly into the prepared pan. Place the pan in the freezer for at least 1 hour, or until firm.
- Place the chocolate chips in a microwave-safe bowl. Microwave in 30-second intervals, stirring well after each interval, until the chocolate is completely melted and smooth.
- Remove the chilled candy block from the pan using the parchment overhang. Cut the block into small, bite-sized squares.
- Dip each candy square into the melted chocolate, ensuring it is fully coated. Place the dipped candies back onto a parchment-lined baking sheet.
- Allow the chocolate coating to set completely. You can place the baking sheet in the refrigerator for 15 minutes to speed up this process.
- Serve these melt in your mouth candy bars immediately or store them in an airtight container in the refrigerator.
Notes
- For a richer flavor, substitute the semi-sweet chocolate chips with dark chocolate or milk chocolate, depending on your preference.
- If you want a texture closer to a classic candy bar, chill the finished candy for at least 2 hours before serving.
- This recipe is a great budget friendly candy option for large gatherings.
Nutrition
- Serving Size: 1 piece
- Calories: 110
- Sugar: 12g
- Sodium: 15mg
- Fat: 6g
- Saturated Fat: 3.5g
- Unsaturated Fat: 2.5g
- Trans Fat: 0g
- Carbohydrates: 14g
- Fiber: 0.5g
- Protein: 1g
- Cholesterol: 5mg