

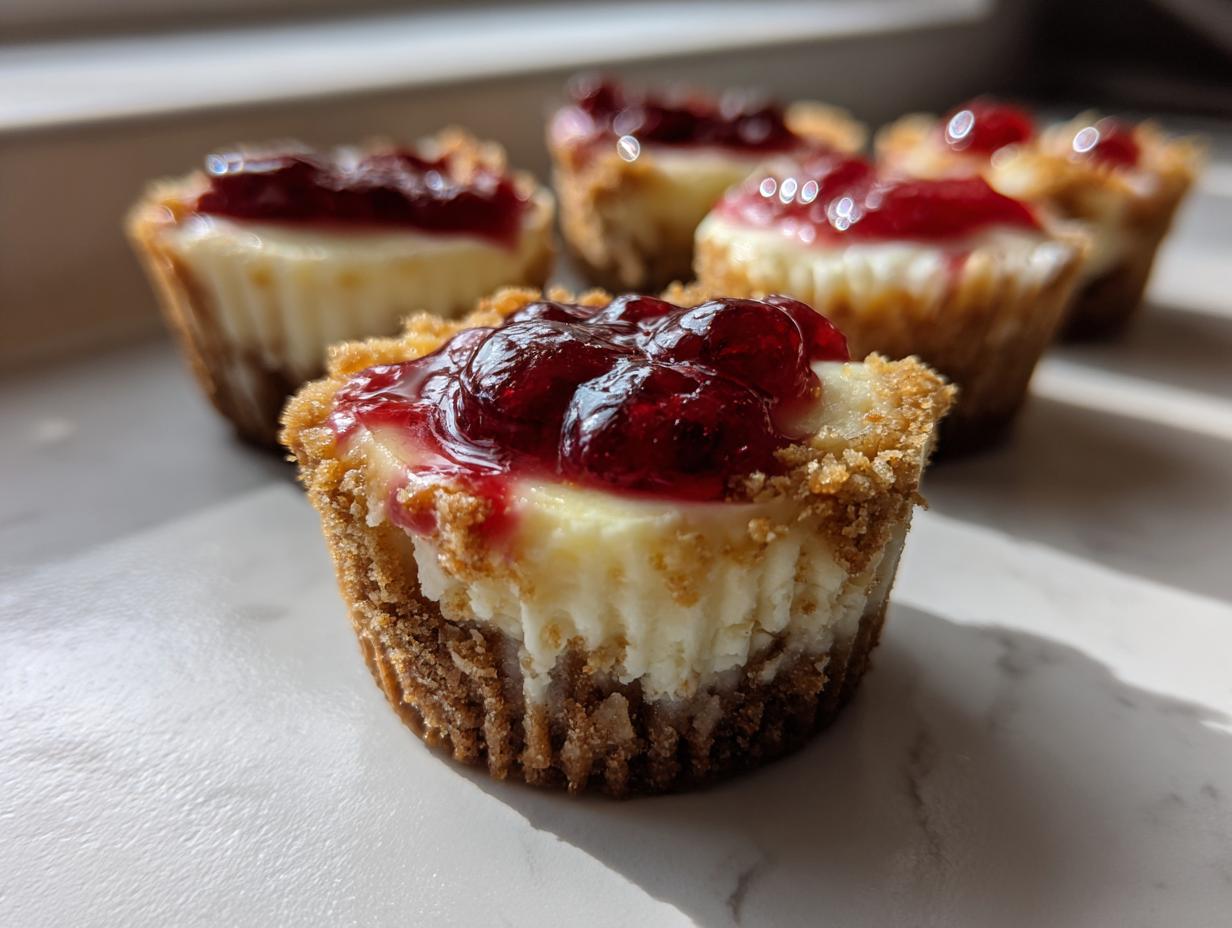
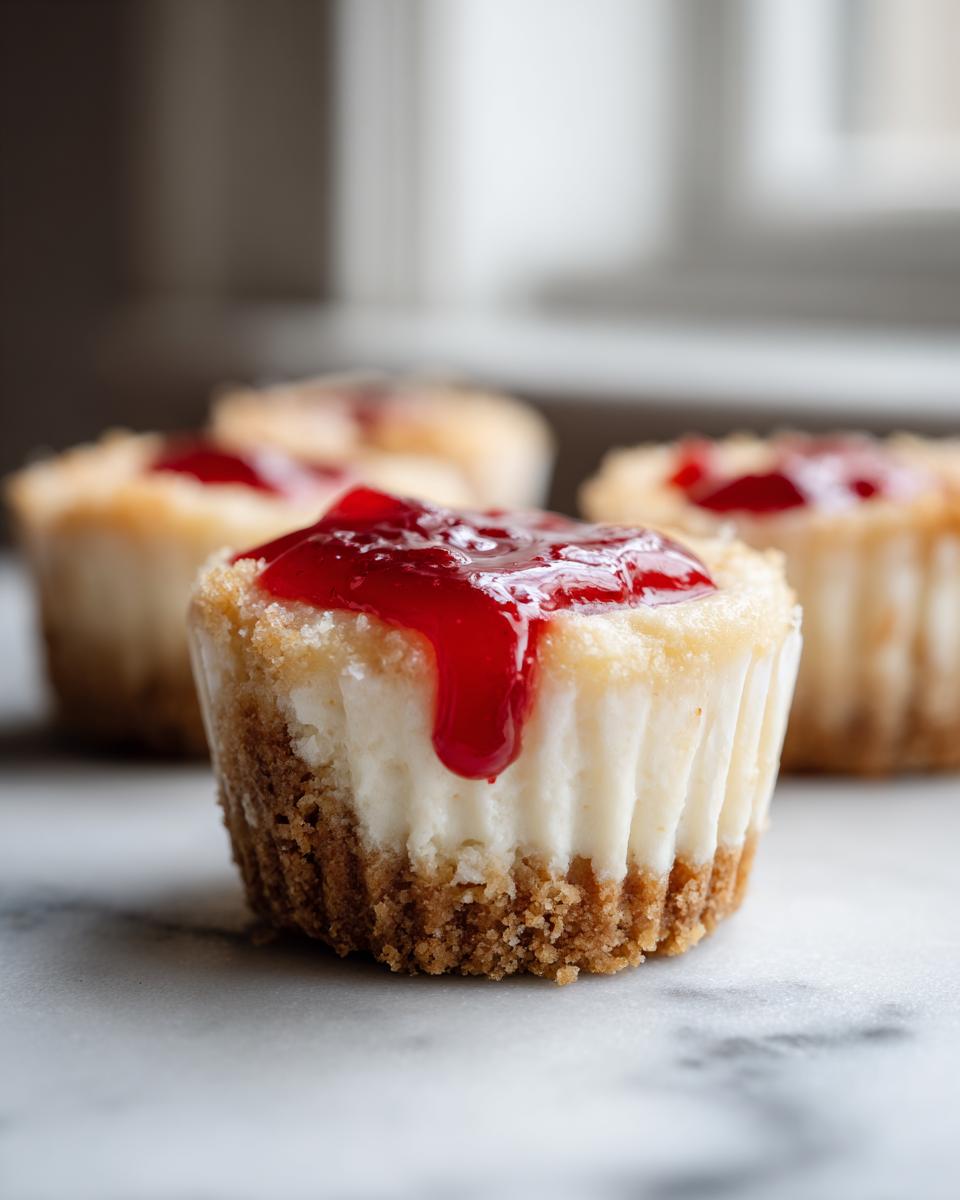
Let’s be honest, sometimes you just need something decadent, but you absolutely do not have two hours to spend mixing, baking, and worrying about cracks. That’s the problem I always ran into, right? Life gets busy, but our desire for amazing food shouldn’t suffer! This is why I worked hard to perfect these easy **mini cheesecake** bites. They capture that luxurious, creamy texture everyone craves, but they come together so fast. This recipe embodies the Cooking by Felix philosophy: truly great flavor doesn’t demand hours of your free time. We focus here on simple ingredients handled correctly so that even if you’re juggling work and life, you get reliable, satisfying results every single time you pull out that muffin tin. If you love simple, delicious desserts, you’re going to want to save this one right now. Trust me, these small wonders are about to become your favorite quick sweet treat. Find more simple delicious desserts here!
- Why This Easy Mini Cheesecake Recipe Works Every Time
- Ingredients for the Best Mini Cheesecake Bites
- How to Make Easy Mini Cheesecakes Step-by-Step
- Tips for Achieving the Perfect Creamy Cheesecake Filling
- Simple Topping Variations for Your Mini Cheesecake Recipe
- Making No Bake Mini Cheesecakes Instead
- Storing and Serving Your Bite Sized Desserts
- Frequently Asked Questions About Mini Cheesecake
- Serving Miniature Desserts for Parties
- Serving Miniature Desserts for Parties
Why This Easy Mini Cheesecake Recipe Works Every Time
When I give you a recipe, especially for something as delicate as a cheesecake, I want you to feel confident walking into the kitchen. I wouldn’t share this **mini cheesecake recipe** unless I knew it delivered that perfect, silky texture without causing anyone stress. It’s all about structure and smart scaling down!
- Perfect Individual Portions: Baking in a muffin tin eliminates the large surface area prone to cracks. You get perfectly portioned, handheld treats every time.
- Unbeatable Creaminess: We stick to full-fat cream cheese and use the gentle addition of eggs (never over-beaten!) to guarantee that dreamy, **creamy cheesecake filling**.
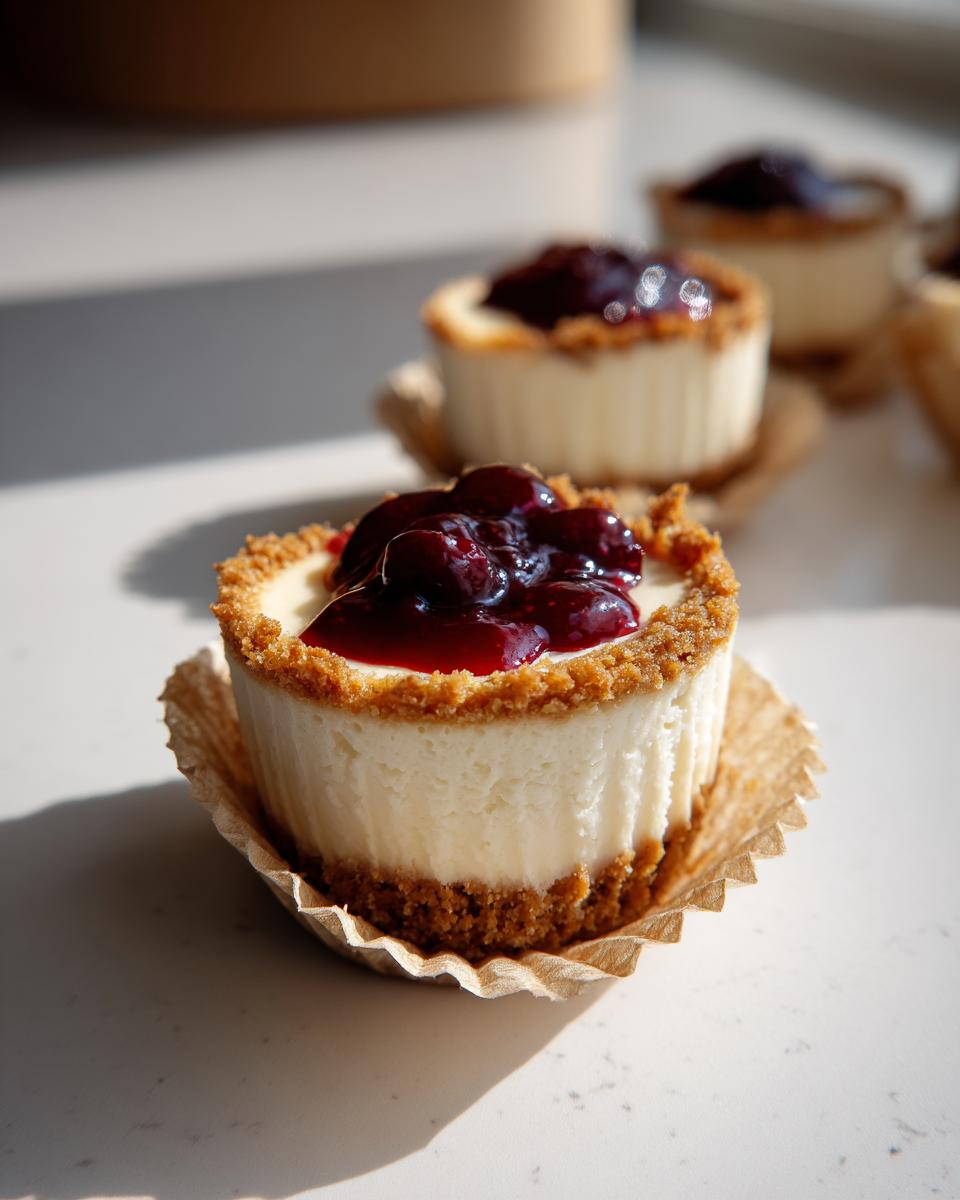
- Truly Simple Crust: The graham cracker crust comes together in about five minutes with melted butter. No messy springform pans needed here!
- Minimal Bake Time: Because they are small, these cook fast, meaning you get your dessert fix quicker. For more streamlined sweets, check out my quick and easy Oreo fudge too!
Ingredients for the Best Mini Cheesecake Bites
Gathering your supplies is half the fun, but with cheesecakes, ingredient quality really matters! I’ve laid out exactly what you need to get that perfect rich flavor and that famously smooth texture in these **mini cheesecake** bites. Remember, this recipe is designed to give you a dozen perfect, individual portions, so measure everything out before you even think about turning on the oven. If you love baking with browned butter, you should definitely check out my brown butter chocolate chip cookies for another fantastic flavor addition to your treat stash later on!
For the Graham Cracker Crust
This crust is so sturdy you can even try making these as **no bake mini cheesecakes** later! Make sure your butter is nice and melted so everything holds together perfectly when you press it down.
- 1 1/2 cups graham cracker crumbs (don’t use too fine, we want some texture!)
- 1/4 cup granulated sugar (this keeps the crust from dissolving)
- 6 tablespoons unsalted butter, melted
When you mix this up, you want it to look like wet sand—the kind that clumps firmly when you squeeze it in your hand. That firm press into the bottom of the liner is vital for a stable base!
For the Creamy Cheesecake Filling
This is where the magic happens! The secret weapon for texture here is using only full-fat cream cheese. Don’t shy away from it; that fat content is what gives you that classic, rich taste that separates a good cheesecake from the *best* one. Room temperature is key here, remember that!
- 16 ounces full-fat cream cheese, softened completely to room temperature
- 1 cup granulated sugar
- 1 teaspoon vanilla extract
- 2 large eggs, room temperature is best!
And just like my notes mentioned earlier, those toppings are optional but highly encouraged! Always have some fruit sauce or melted chocolate ready to drizzle on top once they are chilled. It really elevates these simple sweet treats!
How to Make Easy Mini Cheesecakes Step-by-Step
Okay, let’s get baking! Making these **mini cheesecake** bites is incredibly straightforward when you follow the order of operations. I’ve broken it down into three crucial phases: crust prep, filling mixing, and the all-important cooling. If you nail the cooling part, you are halfway to perfect, uncracked tops. Seriously, success is built on these simple, reliable steps!
Preparing the Crust for Your Mini Cheesecake
First things first, pull out your standard 12-cup muffin tin and line every cup with a paper liner. We need to preheat the oven to 325°F (160°C) while we mix the base. For the crust, just dump your graham cracker crumbs, the small amount of sugar, and that melted butter right into a bowl. Use a fork to mix it until it’s totally combined and crumbly. Then, take about 1 1/2 tablespoons of that mixture and press it down firmly into the bottom of each liner. Get it nice and compact—this is what holds your creamy filling in place!
Mixing the Creamy Cheesecake Filling
Now for the filling, and this is where you absolutely cannot rush or overdo it! If you blend this too much, you introduce too much air, and that’s how cracks happen later. Beat your softened cream cheese until it’s smooth—no lumps, please! Scrape the sides down well. Next, add the main cup of sugar and the vanilla and mix on low until it’s just combined. The eggs go in last, one at a time, mixing on the lowest speed *only* until the yellow disappears. Stop mixing the second that last egg is incorporated. I promise, I learned the hard way that gentle is the secret to that perfect no-crack texture!
Baking and Cooling the Individual Cheesecakes
Spoon the filling evenly over your prepared crusts, making sure to stop filling them about three-quarters of the way full. Bake them for 18 to 20 minutes. You are looking for the edges to look set, but the center should still wiggle just a bit, like jelly. Here’s the non-negotiable step for preventing disaster: turn the oven off, crack the door open wide, and just leave those **cheesecake cups recipe** beauties inside for a full 30 minutes! They need that slow transition out of the heat. After that half hour, pull them out and let them cool completely on a wire rack before you even think about chilling them properly.
Tips for Achieving the Perfect Creamy Cheesecake Filling
Look, I know getting that utterly smooth, rich consistency in a **creamy cheesecake filling** can feel like advanced baking magic, but trust me, it’s mostly about temperature control and patience. If you skip these two things, you end up with lumpy, airy cheesecake, and we aren’t here for that! We want that New York style density, packed into a little bite!
The absolute biggest tip I can give you? Your cream cheese must be fully, completely, ridiculously soft. I mean, if you press your finger into it, it should leave a deep impression without resistance. If it’s cold, you’ll end up just beating the lumps around, and that’s what leads to a curdled look later on. Room temperature cream cheese mixes seamlessly with the sugar and vanilla. You might even want to check out my guide on handling soft dairy for baking, because getting that consistency right for things like cream cheese pound cake is the same principle!
Secondly, use low speed on your mixer, especially once the eggs go in. You are not whipping cream! You are gently bringing ingredients together. Overmixing develops gluten in the egg proteins and whips in too much air, setting up the cake to crack during cooling. Mix just until uniform. That’s it! Simple steps for fantastic results every time.
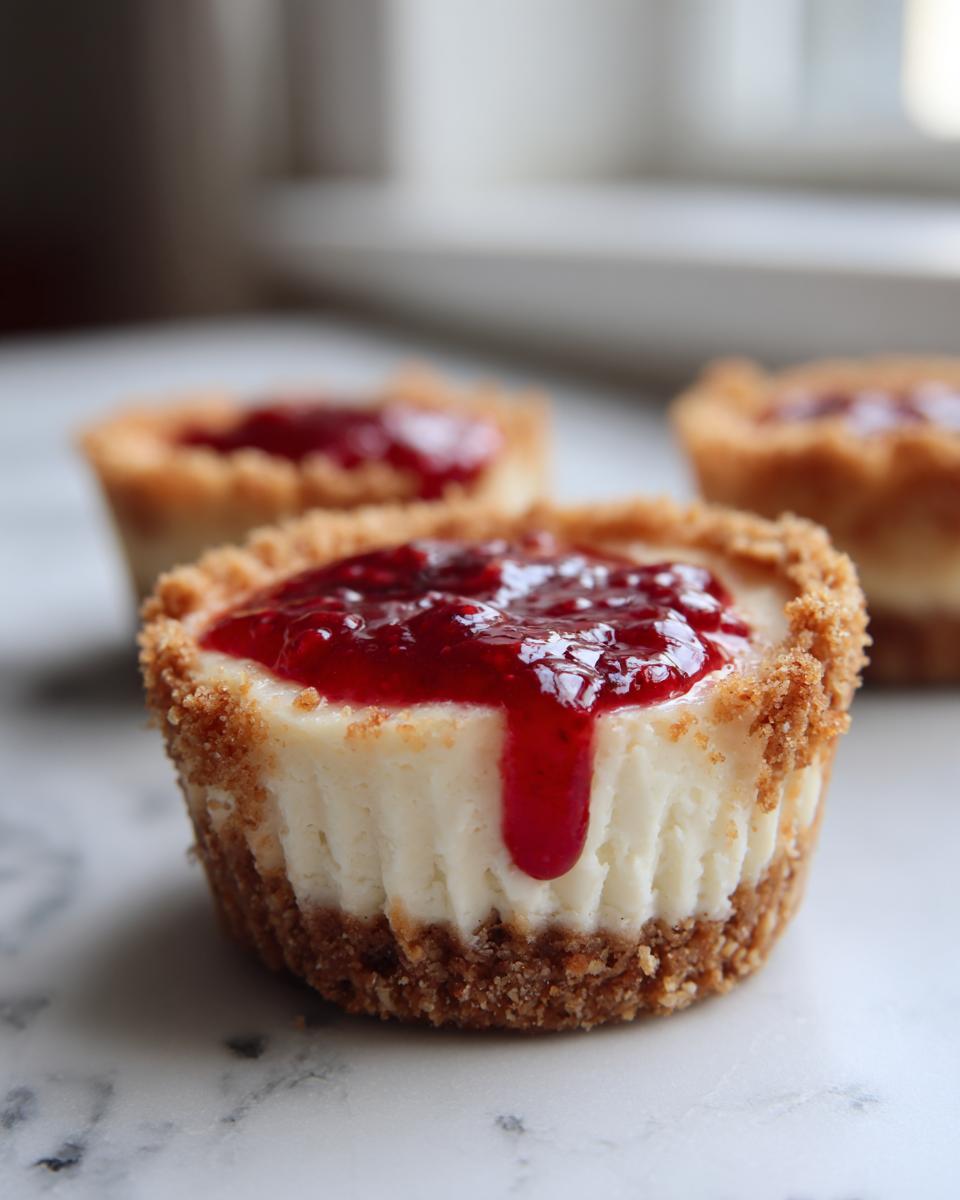
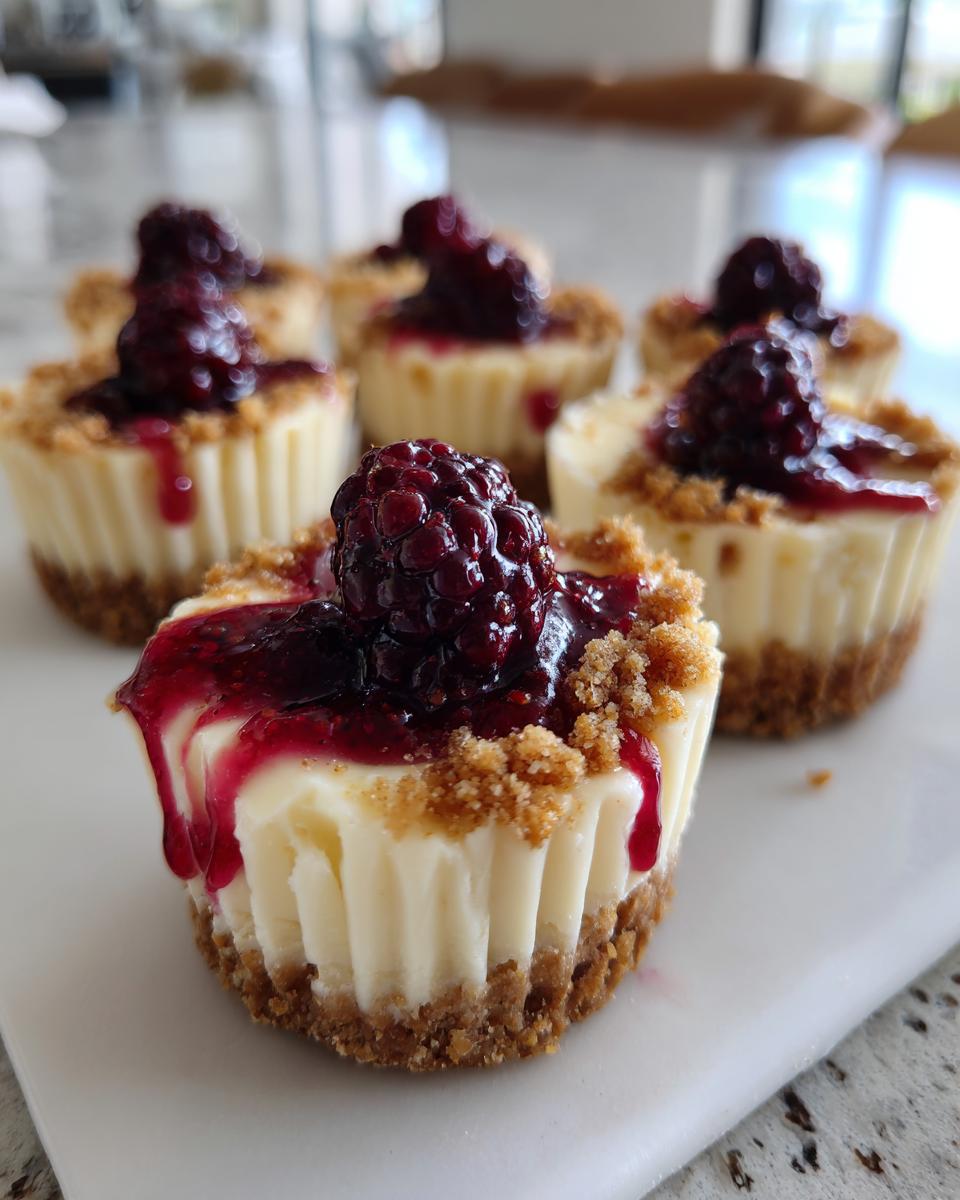
Simple Topping Variations for Your Mini Cheesecake Recipe
These **mini cheesecake** bites are shockingly good plain, but why stop there? This is where you get to play chef and completely customize your little dessert. Part of keeping things simple means using toppings that you can whip up quickly or even grab pre-made!
Seriously, the presentation value jumps instantly with just a little something extra on top. For a burst of freshness, you absolutely have to try making a quick batch of homemade raspberry jam—it’s so much better than store-bought, and I promise my no-pectin jam recipe is fool-proof. Or, keep it classic!
Here are my favorite ways to dress these up:
- The Classic Drizzle: Melted dark chocolate or a sticky caramel sauce drizzled lightly over the top once they are chilled.
- Fruit Forward: Top with a spoonful of your favorite pre-made fruit sauce or curd. If you’re feeling ambitious, grab the raspberry jam recipe mentioned above!
- For the Chocolate Lover: A swirl of simple chocolate ganache. Remember that for more ideas on presentation, you can always check out amazing ideas from others, like those featured by Hungry Happenings.
No matter what you choose, always wait until the **mini cheesecakes** are fully chilled before adding any topping. That way, everything sits beautifully right on top!
Making No Bake Mini Cheesecakes Instead
Sometimes, even I don’t want to turn the oven on, especially when it’s scorching hot outside! Good news: these individual cheesecakes adapt beautifully into **no bake mini cheesecakes**. It’s super simple, but there is one major swap you have to make. If you skip this, they just won’t set up correctly!
The first thing you need to toss is the eggs. Since we aren’t baking them, the eggs don’t serve a structural purpose; they just make the batter runny if left raw. The richness of the cream cheese and the sugar will hold everything together once it hits that cold temperature.
To make the switch, you follow Steps 1 through 3 for the crust perfectly, as always. Then, for the filling, you’ll just mix the cream cheese, sugar, and vanilla extract together until it’s unbelievably smooth. I really stress that low and slow mixing for the baked version, but here, you just need perfect smoothness before moving on. Don’t forget to check out my recipe for an easy no-bake Oreo cheesecake for another fun flavor idea!
Once you spoon the filling over the crusts in your lined muffin tins, you need patience. You can’t rush the chilling! While the baked ones need about 4 hours, these **no bake mini cheesecakes** require a minimum of 6 hours in the refrigerator to firm up completely. Honestly, chilling them overnight is the way to go for the best, creamiest texture, similar to the results you’d get from those fantastic no-bake mini cheesecake cups online. Once they are totally firm, they are ready for toppings and serving!
Storing and Serving Your Bite Sized Desserts
So, you managed to resist eating them all immediately after they chilled—that takes serious willpower! But now you have these gorgeous, perfect **bite sized desserts**, and you need to make sure they stay in tip-top shape until party time, or until you decide to snack on them later this week. Storing them properly is almost as important as baking them correctly, especially since we want that incredible **creamy cheesecake filling** to hold up!
The absolute mandatory minimum chilling time is four hours, but if you can manage overnight, please, please do. That time allows the filling to fully set up around the graham cracker base. If you try cutting corners here, you risk the whole mini cheesecake wobbling or even crumbling when you try to serve it on a platter. Who wants that instability?
Once they are fully chilled, you have two options for storage. If you are serving them within a day or two, the best method is keeping them right there in the muffin tin, but you need to cover that tin tightly with plastic wrap. This prevents them from absorbing any weird smells from your fridge. If you’re planning further ahead—say, up to a month—you can freeze them! Just make sure they are completely set, then place the **mini cheesecake** bites in a freezer-safe, airtight container. I usually separate the layers with a little square of wax paper just to make sure nothing sticks together.
When it comes to serving, consider bringing them out of the fridge about 15 to 20 minutes before you want people to dig in. This slightly softens the cheesecake just enough to bring out that luxurious creaminess we worked so hard to achieve. If you’re looking for other great, reliable things to serve alongside these, I always sneak them onto a plate next to my quick and easy breakfast recipes when I’m hosting brunch—they look fancy but require zero fuss!
Frequently Asked Questions About Mini Cheesecake
I totally get it—when you’re diving into a new recipe, especially something that seems as fussy as cheesecake, you probably have a few little worries already bubbling up! That’s smart cooking! I’ve gathered the questions I get asked the most about these **mini cheesecake** bites. No mystery here; we’re going to solve them so you can bake with total confidence.
Can I use vanilla wafers instead of graham crackers for the mini cheesecake crust?
Oh, absolutely! That’s one of the fun things about exploring different **cheesecake crust recipes**. Vanilla wafers give you a slightly sweeter, buttery base compared to the spiced tang of graham crackers. If you use wafers, just crush them really finely, and you might want to slightly reduce the sugar you add to the crust mixture since wafers are often sweeter to begin with. It works beautifully, and it’s a great way to mix things up!
How far in advance can I prepare these individual cheesecakes?
This might be the best part about making these—they are fantastic make-aheads! The recipe specifically says you need a minimum of four hours to chill, but honestly, they taste the absolute best on day two. You can safely prepare and fully chill these **individual cheesecakes** up to three days in advance. Just keep them tightly covered in the refrigerator. They firm up perfectly, and the flavor honestly seems to deepen overnight. Just try not to top them with wet toppings (like fruit sauce) until about an hour before you serve them, otherwise, the topping can weep a little.
What is the best way to get perfectly smooth mini cheesecake bites?
This circles right back to the tips I gave you earlier, but I can’t stress it enough! Perfection comes down to two things: ingredient temperature and mixing technique. First, the cream cheese *must* be fully softened to room temperature, like soft butter. Second, when you mix the filling, use low speed, especially once the eggs are in. You are aiming for ‘just combined,’ not ‘light and fluffy.’ We’re cutting down on air bubbles to guarantee those beautiful, **creamy cheesecake filling** tops that look professionally done. If you follow those two simple rules, your **mini cheesecake bites** will be silky smooth every time. If you’re looking for another creamy, dependable recipe, my easy Southern peach cobbler is a guaranteed hit, too!
Serving Miniature Desserts for Parties
These little **dessert bites recipe** wonders are practically engineered for parties, right? They solve the impossible problem of cutting a perfect slice from a whole cheesecake in a crowded room. They’re handheld, they’re portion-controlled (hallelujah!), and they look amazing arranged on a tiered stand or a simple platter.
When I’m setting up a dessert table, I like to use the different topping options we talked about to add some color contrast. If you have a dozen of these, maybe put four with a bright cherry sauce, four drizzled with dark chocolate, and leave a few plain for the purists. They hold up really well on a buffet table for an hour or two, especially if they aren’t sitting in direct sun. No fuss, no forks needed, just pure, easy indulgence for your guests. For more incredibly simple appetizers that pair well with a dessert lineup, take a peek at my recipe for easy slow-cooker Reuben dip—it’s always the first thing to disappear!
PrintEasy, Creamy Mini Cheesecake Bites with Graham Cracker Crust
Make these incredibly delicious, creamy mini cheesecakes that are truly easy to prepare. These individual cheesecakes use a simple graham cracker crust and are perfect for parties or quick sweet treats.
- Prep Time: 20 min
- Cook Time: 20 min
- Total Time: 4 hours 40 min
- Yield: 12 servings 1x
- Category: Dessert
- Method: Baking
- Cuisine: American
- Diet: Vegetarian
Ingredients
- 1 1/2 cups graham cracker crumbs
- 1/4 cup granulated sugar (for crust)
- 6 tablespoons unsalted butter, melted
- 16 ounces full-fat cream cheese, softened
- 1 cup granulated sugar (for filling)
- 1 teaspoon vanilla extract
- 2 large eggs
- Optional toppings: fruit sauce, chocolate ganache, caramel
Instructions
- Preheat your oven to 325°F (160°C). Line a standard 12-cup muffin tin with paper liners.
- Prepare the crust: In a small bowl, combine the graham cracker crumbs, 1/4 cup sugar, and melted butter. Mix until the crumbs are evenly moistened.
- Press about 1 1/2 tablespoons of the crumb mixture firmly into the bottom of each muffin liner to form the crust.
- Prepare the filling: In a large bowl, beat the softened cream cheese with an electric mixer until smooth. Scrape down the sides of the bowl.
- Add 1 cup of sugar and vanilla extract to the cream cheese. Beat until just combined and creamy. Do not overmix.
- Add the eggs one at a time, mixing on low speed after each addition until just incorporated. Stop mixing as soon as the last egg is mixed in to keep the filling smooth.
- Spoon the cheesecake filling evenly over the crusts, filling each cup about three-quarters full.
- Bake for 18 to 20 minutes, or until the edges are set and the centers are mostly firm but still slightly jiggly.
- Turn off the oven, crack the oven door open slightly, and let the mini cheesecakes cool inside the oven for 30 minutes. This step helps prevent cracking.
- Remove the cheesecakes from the oven and let them cool completely on a wire rack.
- Chill the mini cheesecakes in the refrigerator for at least 4 hours, or preferably overnight, before serving.
- Top with your choice of fruit sauce, chocolate, or caramel just before serving.
Notes
- For the creamiest texture, ensure your cream cheese is fully softened to room temperature before mixing.
- If you want a New York style flavor, use a full-fat cream cheese only.
- To make these no bake mini cheesecakes, skip baking and chill for 6 hours after filling the crusts.
- For easy removal, you can bake these directly in a greased muffin tin without liners, but chilling thoroughly is essential before unmolding.
Nutrition
- Serving Size: 1 cheesecake bite
- Calories: 250
- Sugar: 18g
- Sodium: 150mg
- Fat: 16g
- Saturated Fat: 9g
- Unsaturated Fat: 7g
- Trans Fat: 0g
- Carbohydrates: 23g
- Fiber: 1g
- Protein: 4g
- Cholesterol: 55mg