

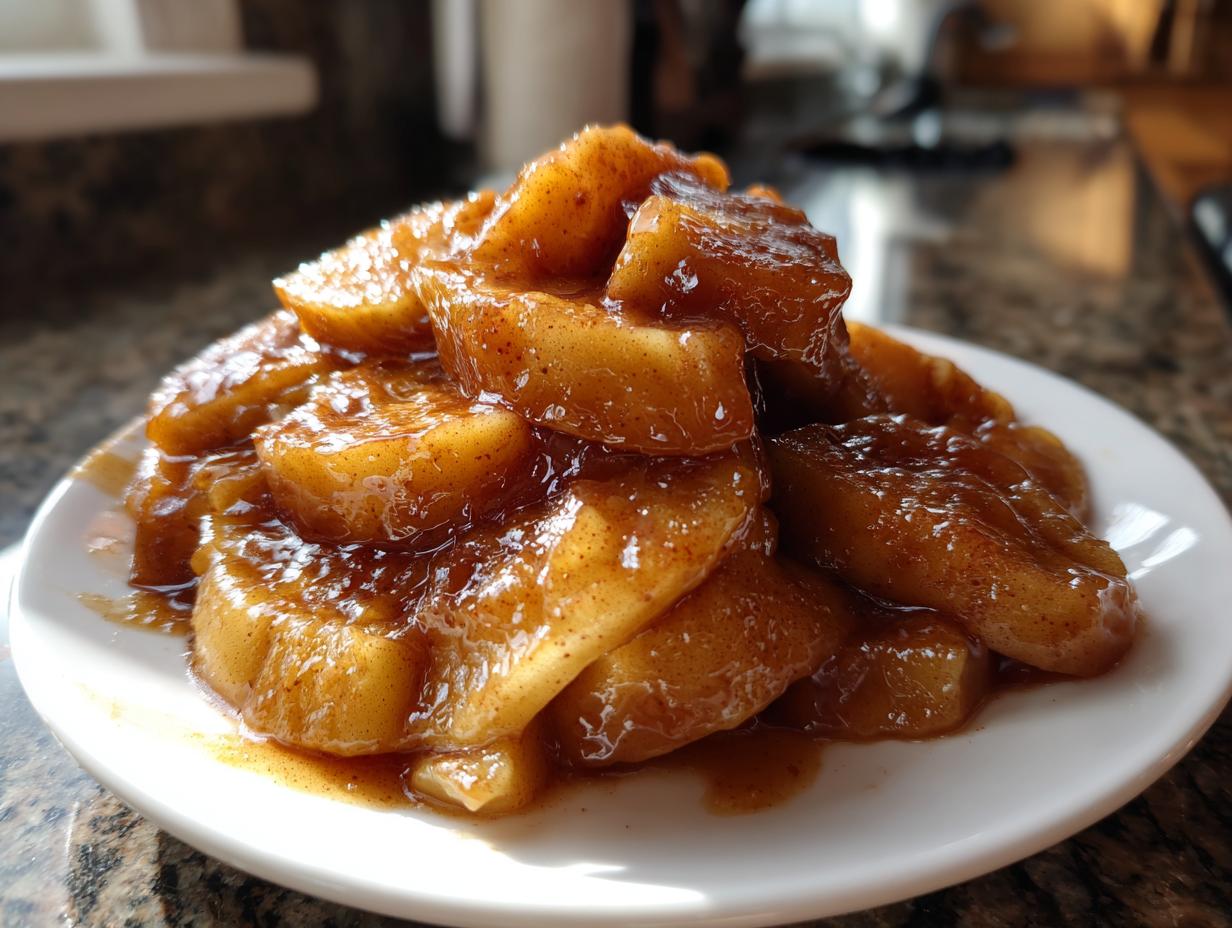
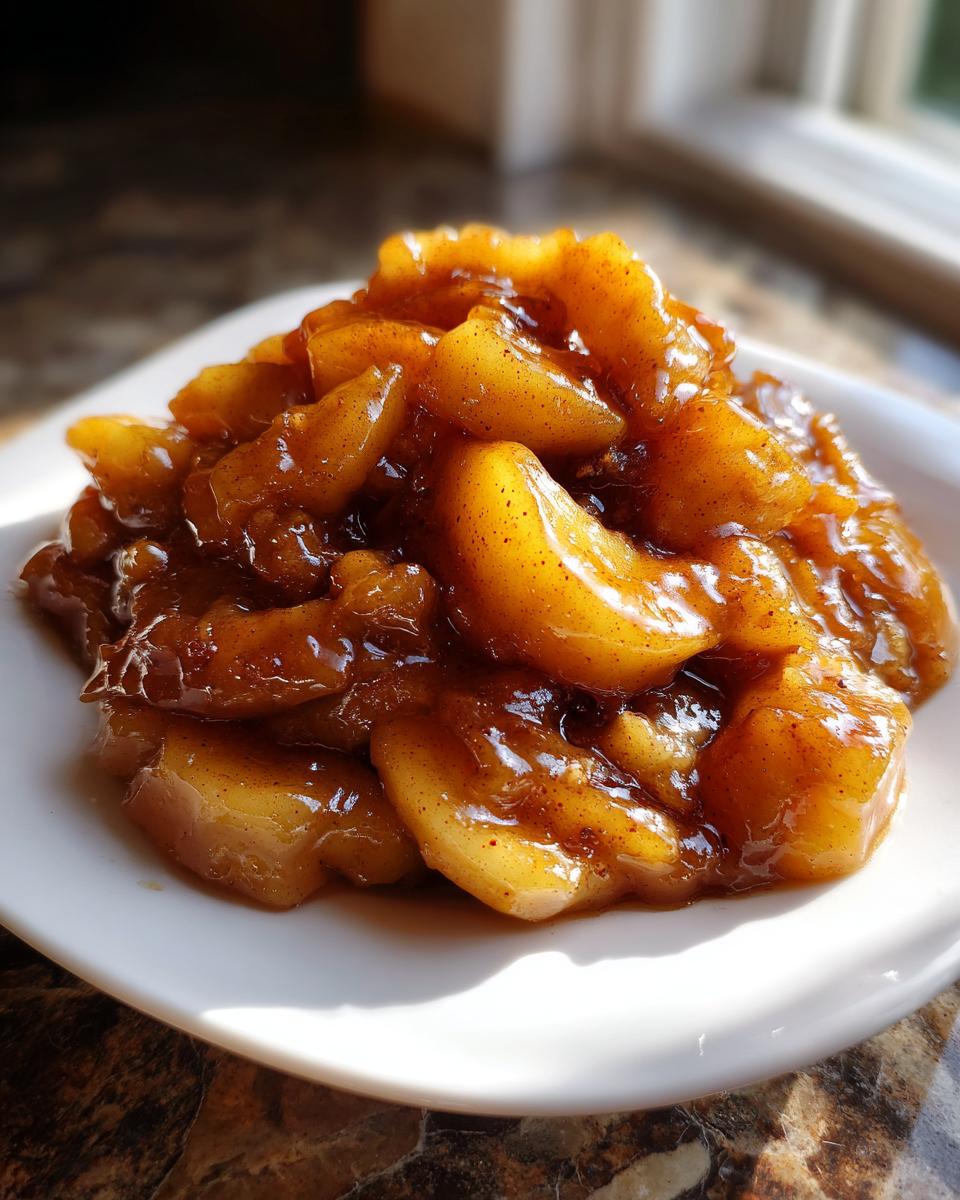
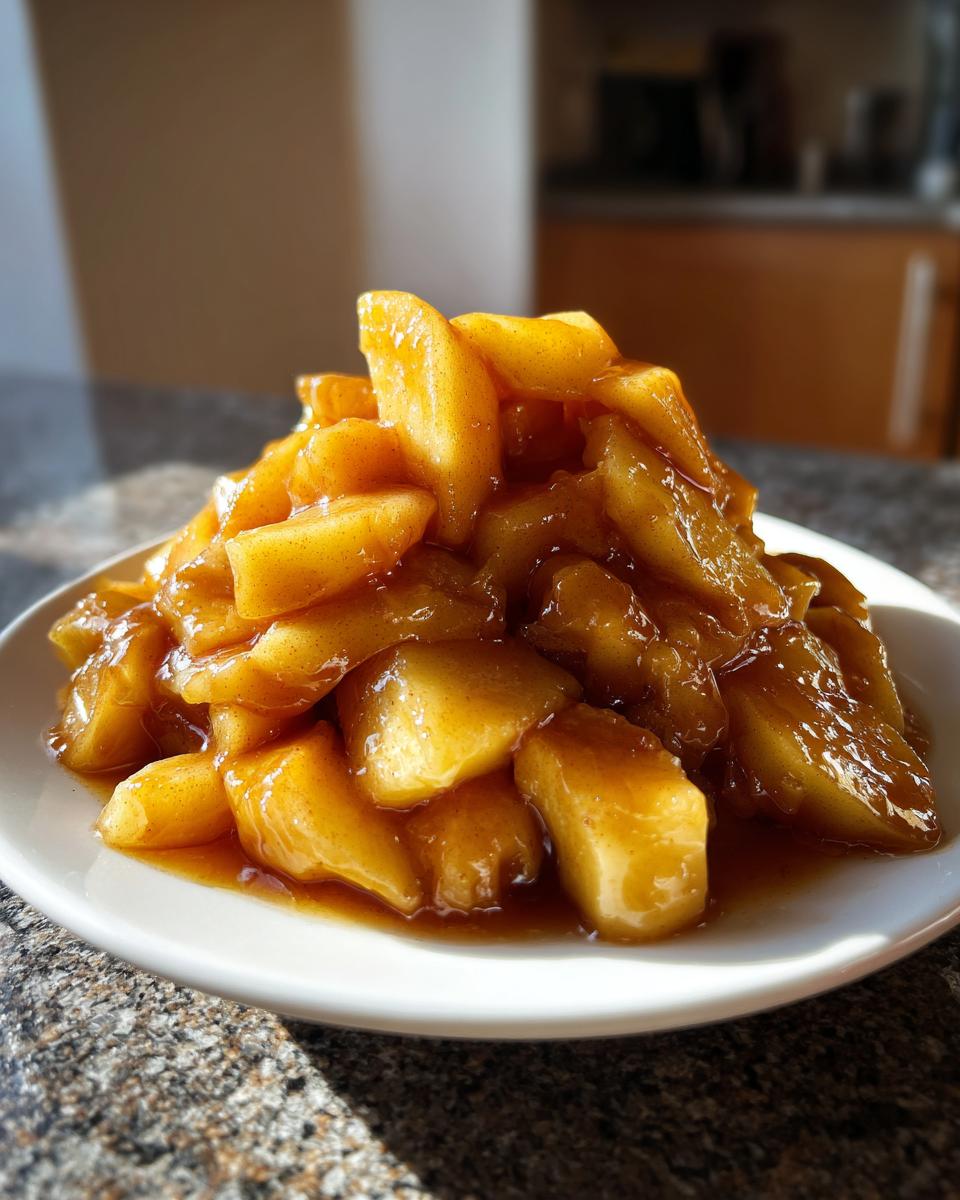
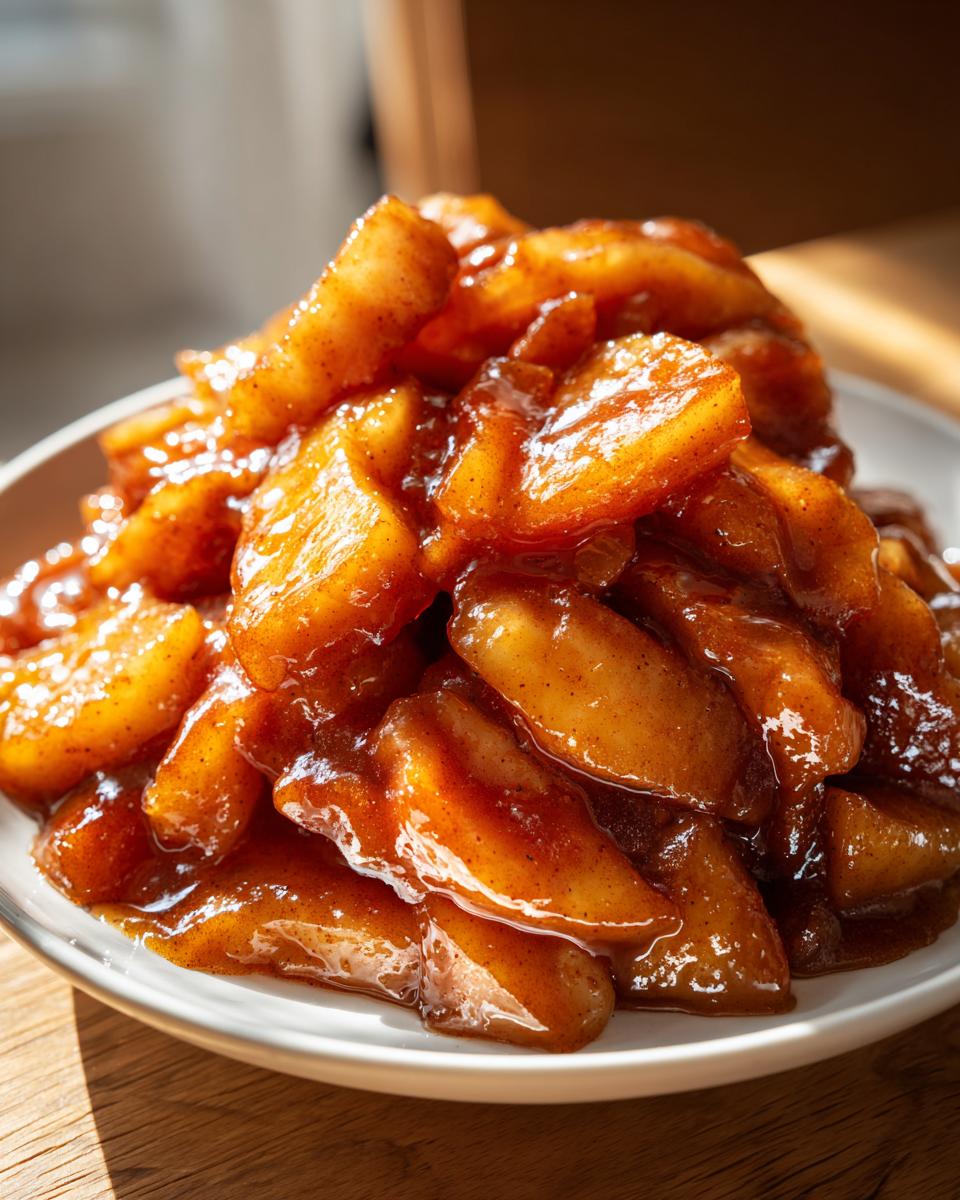
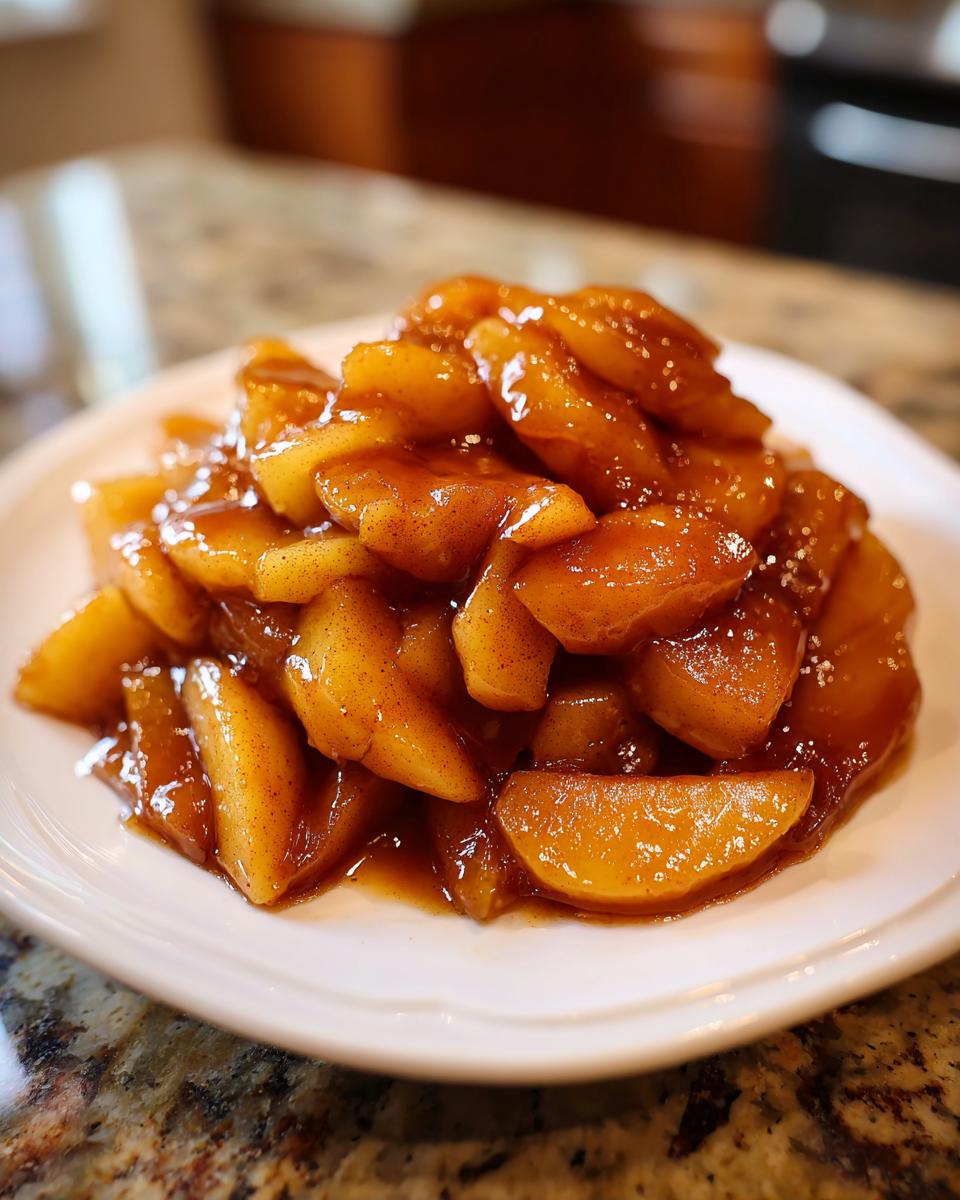
Okay, friends, let’s talk about that jarred stuff you scoop out of a can when you’re in a total rush. Don’t get me wrong, sometimes we all need that shortcut, but when it comes to flavor, nothing beats making your own. Seriously, tossing out that can forever is liberating! I’m here to give you The Best Foolproof Stovetop apple pie filling recipe. Felix and I spent ages tweaking this because we know you’re busy, but you still deserve that soul-soothing aroma of warm spice and perfectly cooked fruit. This version gives you those beautifully tender apple slices coated in the thickest, glossiest, sweet-spiced glaze you’ve ever seen. Trust me, this stovetop magic is the secret weapon every home cook needs in their back pocket for easy fall desserts.
If you’re looking for something quick to top your morning waffles or need a last-minute filling, this is it. You can even use this technique when you want to branch out and try something like a peach cobbler sometime soon. Try experimenting with my peach cobbler recipe next!
- Why This Stovetop apple pie filling Recipe Is Your New Go-To
- Gathering Ingredients for Your homemade apple pie filling recipe
- Step-by-Step: how to make apple pie filling on the stovetop
- Tips for a Perfect, Flavorful apple pie filling
- Creative Ways to Use Your homemade apple pie filling recipe
- Storage and Make-Ahead Tips for apple pie filling
- Frequently Asked Questions about apple pie filling
- Nutritional Estimate for this apple pie filling
- Share Your Comfort Food apple pie filling Creations
Why This Stovetop apple pie filling Recipe Is Your New Go-To
Listen, I want great flavor without getting trapped in the kitchen for hours. That’s why this recipe hits differently. It’s not just good; it solves the busy cook’s dilemma. We focus on what matters: getting that sweet, spiced flavor and perfect apple texture fast.
- It delivers those tender apple slices you dream about, never mushy.
- The final glaze is thick and glossy—no runny messes here!
- It uses simple pantry staples you likely already have sitting around.
If you need something in a flash, check out my Oreo Fudge recipe—it’s proof that fast doesn’t mean sacrificing satisfaction!
Speed and Simplicity: The quick apple pie filling promise
We are talking 30 minutes total, folks! That includes all the chopping and stirring. You can have this fantastic quick apple pie filling ready before the oven even warms up for your crust. It’s designed for those weeknights when you crave comfort but don’t have all evening to dedicate to a dessert.
Achieving the Perfect Thick apple pie filling Consistency
This is the biggest secret for anyone who hates watery pie filling. We rely on cornstarch mixed perfectly with the two types of sugar right at the beginning. When you cook this apple pie filling, that mixture transforms into a thick, beautiful glaze that clings perfectly to every apple slice. No more sliding filling when you slice your pie!
Gathering Ingredients for Your homemade apple pie filling recipe
This apple pie filling shines because we don’t use any weird stabilizers or preservatives—just real ingredients that taste like fall. Before you look at the list, let me pass along a quick piece of wisdom from Felix about the apples themselves. Choosing the right fruit makes all the difference between a good pie and an unforgettable one. Gathering everything up is half the battle, and since this is a stovetop recipe, you probably already have most of this waiting for you! If you’re making a crisp soon, remember to check out my favorite candied pecans recipe—they make an amazing topping!
Selecting the best apple variety for pie filling
If you ask me, you should never rely on just one type of apple here. Mixing textures is key! I always grab Granny Smiths—they are tart and hold their shape like champs when they cook down. But you don’t want it too sour, right? So, I toss in some Honeycrisp or Gala apples, too. They bring sweetness and break down just a little bit more, which helps thicken that gorgeous glaze naturally. It’s the perfect balance of structure and flavor, so don’t skip the mix!
Step-by-Step: how to make apple pie filling on the stovetop
Alright, this is where the real magic happens! Since we are cooking this on the stove, you don’t need to fuss with preheating your oven for an hour—which is fantastic for my busy schedule. We are using a single saucepan, which means cleanup is practically non-existent. Pay close attention to the first step, because if you skip it, your gorgeous apple pie filling might end up chunky with cornstarch instead of smooth and glorious. If you need a refresher on low-and-slow cooking techniques for other things, I’ve got a great guide on how to get perfect poached eggs; similar principles apply here about patient cooking!
Combining Dry Ingredients for the apple pie filling base
Grab your medium saucepan—no need to grease it yet! First things first: we tackle the powders. Dump in both the brown sugar and the white sugar, the trusty cornstarch, and all those lovely spices—cinnamon, nutmeg, and allspice. Now, whisk like you mean it! You absolutely must ensure everything is fully combined before you add any liquid. If we don’t whisk this base until it’s totally uniform, we risk having pockets of dry cornstarch floating around later. We want a perfectly smooth base for our amazing apple pie filling, so take a good minute to blend it all out before moving on.
Cooking the apple pie filling until tender apple slices are achieved
Once the dry things are happy, whisk in that small amount of water until you have a slurry—it should be totally smooth again. Now, add all those beautiful, sliced apples and toss them gently so they get coated in that spice mix. Pop this onto medium heat. Keep stirring frequently! This is vital; we don’t want scorching on the bottom. You’ll notice it start to bubble up and look glossy, which means the cornstarch is kicking in. This usually takes about 8 to 10 minutes. Watch closely because this is when you achieve those perfect tender apple slices that don’t turn to mush inside your finalized apple pie filling.
Finishing Touches for the best apple pie filling
When your filling is bubbly and thick—seriously thick, like a nice sauce—pull the saucepan right off the burner. Don’t leave it sitting there! The residual heat is still high. Now, toss in the two tablespoons of butter and that teaspoon of lemon juice. Stir until the butter melts completely. That fresh butter adds incredible richness and gloss, and the lemon juice just brightens up all those sweet spices in your best apple pie filling. Let this cool down a bit before you decide to plop it into a pie crust or serve it up!
Tips for a Perfect, Flavorful apple pie filling
You’ve mastered the stovetop technique, which is huge! But I want your filling to taste like the absolute best comfort food imaginable, not just *fine*. When I talk to Felix about what separates a decent batch from an incredible one, it always comes back to a few expert tweaks we pull from the notes we keep. The goal here is always flavor depth. We aren’t just making a thickener; we are creating a spiced, sweet experience. A great apple pie filling relies just as much on flavor intention as it does on technique.
Adjusting sweetness with apple pie filling with brown sugar
You saw the recipe called for a mix of light brown and white sugar, and I want to explain why that matters for your apple pie filling. White sugar gives you clean sweetness, but brown sugar—oh, that brown sugar—brings that deep, almost caramelly molasses note. If you’re using super tart apples like straight Granny Smith and want a really cozy, deep flavor, try swapping out that measured white sugar completely for more dark brown sugar. It gives the glaze a gorgeous amber color and a richness that just screams autumn. If you want to see how browning butter can add similar deep flavor notes, check out my recipe for brown butter chocolate chip cookies—it’s all about adding depth!
Creative Ways to Use Your homemade apple pie filling recipe
Now, listen, I love an incredible apple pie, truly I do. But once you have this fantastic, perfectly thick filling sitting on your counter, you’re going to realize it’s too versatile to keep trapped under just one crust! This is where the fun begins. Don’t let your delicious creation go to waste once the pie dishes are clean. We treat this like a powerful, versatile ingredient ready for anything. Think about all the ways a warm, cinnamon-scented fruit mixture can elevate your everyday meals!
Spiced apple topping for breakfast favorites
This is my absolute favorite hack. Forget the plain syrup! If you’re making my fluffy buttermilk pancakes on a weekend morning, spoon a generous dollop of this warm filling right over the stack. It integrates perfectly. It’s even divine spooned over a crispy waffle or a thick piece of French toast. When you serve it this way, you’re looking at a gourmet spiced apple topping that tastes like you spent hours on it, but really, you just heated up the leftovers!
Incorporating apple filling for donuts and tarts
That thick, glossy texture we worked so hard to achieve means this mixture is perfect for injecting into things! Thinking about making donuts from scratch or even buying plain glazed ones? Carefully open a small slit in the side and pipe some of this filling right inside—instant apple-filled treat! It also works beautifully as a base layer for little open-faced tarts. Just line a muffin tin with puff pastry, add a few spoonfuls of the apple mixture, maybe sprinkle a little extra cinnamon on top, and bake until the pastry is golden. You can even use this as a crunchy layer in a dessert, similar to how I layer toppings on my sweet potato casserole!
Storage and Make-Ahead Tips for apple pie filling
One of the best things about making a big batch of apple pie filling? You don’t always have to use it right away! I make a double batch every fall because I know how handy leftovers are. If you’re chilling it, always make sure the filling has cooled down completely before you put it into an airtight container. It keeps beautifully in the fridge for about a week, which is perfect for topping pancakes all week long.
If you want to stash it longer, freezing works wonderfully! Pop cooled filling into heavy-duty freezer bags, squeeze out all that air, and lay them flat in the freezer until solid. It maintains its texture really well when frozen for up to three months. Now, if you’re someone who likes to truly stock up—like preparing for next summer already—you can absolutely look into proper water bath canning. It takes a bit more effort, but a safely canned jar of this apple pie filling lasts forever. I highly recommend reading up on safe procedures if that sounds like your jam; you can check out my guide for canning blackberry jam for general safety pointers!
Frequently Asked Questions about apple pie filling
I know sometimes questions pop up after you’ve already started mixing, so let’s tackle the few things people ask me most often about getting this recipe just right. Don’t worry if you mess up an ingredient—we usually have a fix for it! If you’re looking for another make-ahead recipe, check out my no-bake peanut butter bars; they are fantastic for meal prepping!
Is this stovetop apple pie filling suitable for canning?
Yes, you absolutely can can this stovetop apple pie filling! Because it relies on cornstarch for thickening, it requires special care compared to just fruit saved in syrup. If you plan on keeping it on the shelf for months, you must follow approved, sterile water bath canning procedures exactly for the processing time needed for high-acid foods. You can’t just ladle warm filling into jars and seal them—that’s risky business! Always look up the current guidelines from a trustworthy source for safe long-term storage.
What thick apple pie filling methods work if I don’t have cornstarch?
Oh, the dreaded missing ingredient crisis! It happens to all of us. If you’re out of cornstarch and need that thick apple pie filling, don’t panic. You can substitute it, though the texture might change slightly. Flour works in a pinch, but you’ll need about double the amount of flour compared to cornstarch, and it tends to give a slightly cloudier glaze. My favorite alternative, if I’m out of cornstarch, is using quick-cooking tapioca, especially if you want perfectly tender apple slices that stay suspended nicely. Use about 1/4 cup of tapioca granules for this recipe volume.
Nutritional Estimate for this apple pie filling
Look, I’m a cook, not a registered dietitian, so take these numbers with a grain of salt—or maybe a tiny sprinkle of nutmeg! Since we are dealing with a lot of naturally occurring sugars from the apples and brown sugar, the numbers will lean sweet, which is what makes this so delicious, right? This is just an estimate based on dividing the whole recipe total by about 6 or 7 generous servings, depending on how you scoop it. If you’re comparing this to buying one of those pre-made tubs, you’ll see homemade ingredients always win on flavor, even if the counts look similar. These estimates are using the standard amounts listed, but remember—your apples might be different sizes, so it’s just a ballpark figure!
If you’re diving deep into baking like this, you might want to check out my classic carrot cake recipe next; sometimes understanding the ingredient roles in different bakes helps adjust expectations!
- Calories: Around 250 per serving (about 3/4 cup)
- Total Fat: About 3 grams
- Carbohydrates: Roughly 58 grams
- Protein: Very low, close to 0 grams
- Sugar Content: High, about 45 grams (this is where the delicious comes from!)
Share Your Comfort Food apple pie filling Creations
Well, that’s the whole process! You’ve got the knowledge now to make the absolute best, smoothest, most perfectly spiced apple pie filling from scratch whenever a craving hits. I honestly hope this recipe brings as much warmth and comfort to your kitchen as it does to mine.
Creating something wonderful like this is only half the fun; the other half is what you do with it! I absolutely adore seeing how you use these recipes. Did you stick it in a traditional double-crust pie? Did you use it as a piping hot topping for vanilla ice cream? Maybe you tried it in one of those donut fillings we talked about!
Please, if you loved this stovetop filling, come back and leave a star rating right below. It really helps other busy cooks find this amazing recipe. And don’t be shy—drop a comment telling me what fruit you plan to use next time or any secret spice blends you came up with! If you want to share photos or just need to send me a quick note about how the dinner went, you can always reach out via my contact page. Happy baking, everyone!
PrintThe Best Foolproof Stovetop Apple Pie Filling (Thickened with Cornstarch and Brown Sugar)
Make this easy, quick stovetop apple pie filling from scratch. It features tender apple slices in a thick, sweet-spiced glaze using brown sugar, perfect for pies, crisps, or topping pancakes.
- Prep Time: 15 min
- Cook Time: 15 min
- Total Time: 30 min
- Yield: About 5 cups 1x
- Category: Dessert Filling
- Method: Stovetop
- Cuisine: American
- Diet: Vegetarian
Ingredients
- 6 medium apples (like Granny Smith or Honeycrisp), peeled, cored, and sliced 1/4-inch thick
- 3/4 cup packed light brown sugar
- 1/4 cup granulated sugar
- 1/4 cup cornstarch
- 1 teaspoon ground cinnamon
- 1/4 teaspoon ground nutmeg
- 1/8 teaspoon ground allspice
- 1/4 cup water
- 2 tablespoons unsalted butter
- 1 teaspoon lemon juice
Instructions
- Combine the brown sugar, granulated sugar, cornstarch, cinnamon, nutmeg, and allspice in a medium saucepan. Whisk the dry ingredients together until no lumps remain.
- Add the water to the saucepan and whisk until the mixture is smooth.
- Add the sliced apples to the saucepan. Toss gently to coat the apples evenly with the sugar and spice mixture.
- Place the saucepan over medium heat. Cook, stirring frequently, until the mixture begins to bubble and thicken, about 8 to 10 minutes. The apples should start to become tender.
- Once the filling is thick and glossy, remove the pan from the heat. Stir in the butter and lemon juice until the butter melts completely.
- Allow the apple pie filling to cool slightly before using it in your pie crust, tarts, or other desserts.
Notes
- For the best texture, use a mix of tart and sweet apples. Granny Smith holds its shape well.
- If you prefer a deeper color, substitute 1/4 cup of the white sugar with an additional 1/4 cup of brown sugar.
- This filling works well as a topping for waffles, French toast, or vanilla ice cream.
- For canning apple pie filling, follow standard water bath canning procedures after cooking, ensuring the jars are processed for the correct time.
Nutrition
- Serving Size: 3/4 cup
- Calories: 250
- Sugar: 45
- Sodium: 5
- Fat: 3
- Saturated Fat: 2
- Unsaturated Fat: 1
- Trans Fat: 0
- Carbohydrates: 58
- Fiber: 3
- Protein: 0
- Cholesterol: 8